Mutex Class
Mutex translates to "互斥" in Chinese, and the Mutex class is called "互斥锁". It can also be used as a synchronization primitive for inter-process synchronization.
A Mutex is a mechanism used in multi-threading to prevent two threads from simultaneously reading and writing to a shared resource.
In the Windows operating system, the Mutex synchronization object has two states:
- signaled: Not owned by any object;
- nonsignaled: Owned by a thread;
A Mutex can only be released by the thread that owns the lock.
Constructors and Methods
The constructors for the Mutex class are as follows:
| Constructor | Description |
|--------------|-------------|
| Mutex() | Initializes a new instance of the Mutex class with default properties. |
| Mutex(Boolean) | Initializes a new instance of the Mutex class using a Boolean value (indicating whether the calling thread should have initial ownership of the mutex). |
| Mutex(Boolean, String) | Initializes a new instance of the Mutex class with a Boolean value (indicating whether the calling thread should have initial ownership of the mutex and whether the string is the name of the mutex). |
| Mutex(Boolean, String, Boolean) | Initializes a new instance of the Mutex class using Boolean values to specify whether the calling thread should have initial ownership of the mutex and whether the string is the name of the mutex, along with a Boolean value indicating whether the calling thread has been granted initial ownership of the mutex when the thread returns. |
Mutex is helpful for process synchronization, such as controlling that only one instance of a program can run in the system.
The common methods for Mutex are:
| Method | Description |
|--------|-------------|
| Close() | Releases all resources held by the current WaitHandle. |
| Dispose() | Releases all resources used by the current instance of the WaitHandle class. |
| OpenExisting(String) | Opens a specified named mutex (if it already exists). |
| ReleaseMutex() | Releases the mutex once. |
| TryOpenExisting(String, Mutex) | Opens a specified named mutex (if it exists) and returns a value indicating whether the operation was successful. |
| WaitOne() | Blocks the current thread until the current WaitHandle receives a signal. |
| WaitOne(Int32) | Blocks the current thread until the current WaitHandle receives a signal, using a 32-bit signed integer to specify the time interval (in milliseconds). |
| WaitOne(Int32, Boolean) | Blocks the current thread until the current WaitHandle receives a signal, using a 32-bit signed integer to specify the time interval and indicating whether to exit the synchronization domain before waiting. |
| WaitOne(TimeSpan) | Blocks the current thread until the current instance receives a signal, using TimeSpan to specify the time interval. |
| WaitOne(TimeSpan, Boolean) | Blocks the current thread until the current instance receives a signal, using TimeSpan to specify the time interval and indicating whether to exit the synchronization domain before waiting. |
We can start by understanding the Mutex class through a few examples.
Only One Instance of the Program Can Run in the System
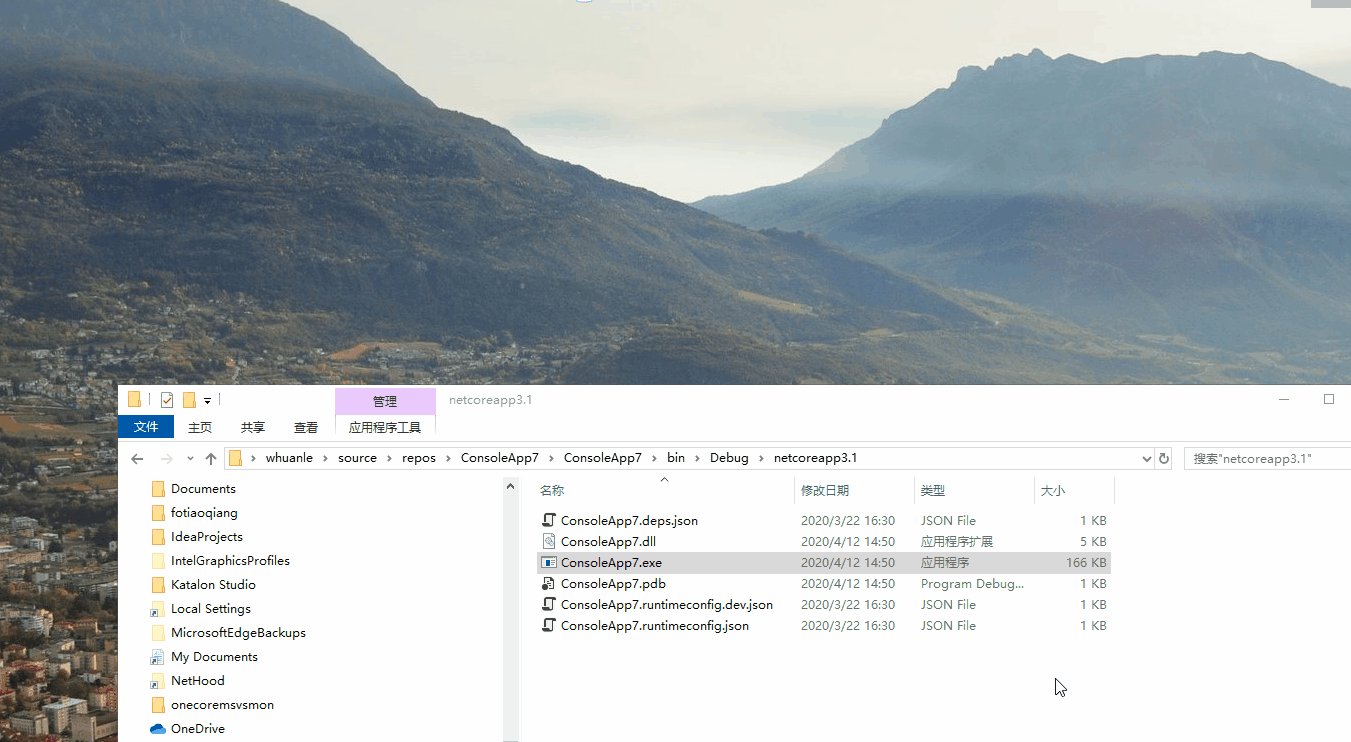
Below is an example that controls that only one instance of this program can run in the system, disallowing multiple simultaneous launches.
class Program
{
    // First program
    const string name = www.whuanle.cn;
    private static Mutex m;
    static void Main(string[] args)
    {
        // Is this program the owner of the Mutex?
        bool firstInstance;
        m = new Mutex(false, name, out firstInstance);
        if (!firstInstance)
        {
            Console.WriteLine("The program is already running! Press Enter to exit!");
            Console.ReadKey();
            return;
        }
        Console.WriteLine("The program has started");
        Console.WriteLine("Press Enter to exit the run");
        Console.ReadKey();
        m.ReleaseMutex();
        m.Close();
        return;
    }
}
In the above code, some parts have not been explained yet, but feel free to run the generated program first.
Explain the Above Example
The working principle of Mutex is:
When two or more threads access shared resources simultaneously, the operating system needs a synchronization mechanism to ensure that only one thread uses the resource at a time.
In the above code example, the constructor for the Mutex class is instantiated as follows:
m = new Mutex(false, name, out firstInstance);
Its constructor prototype is as follows:
public Mutex(bool initiallyOwned, string name, out bool createdNew);
As mentioned earlier, a Mutex object has two states: signaled and nonsignaled.
Instantiating the Mutex class with new will check if the mutex named name is already in use in the system. If it is not used, it will create the name mutex, and this thread will have ownership of the mutex; at this point, createdNew == true.
Now, regarding initiallyOwned, it indicates whether the thread can obtain initial ownership of the mutex. Since we want only one program to run in the background, we set it to false.
For more information about Mutex in driver development: Introduction to Mutex Objects
Moreover, the name parameter of the Mutex is significant.
On servers running terminal services, named system mutexes can have two levels of visibility.
- If the name is prefixed with "Global", the mutex is visible across all terminal server sessions.
- If the name is prefixed with "Local", the mutex is only visible in the terminal server session that created it. In this case, there may be separate mutexes with the same name in other terminal server sessions on the server.
If no prefix is specified when creating a named mutex, the prefix "Local" is used. In a terminal server session, the names of two mutexes are distinguished only by their prefixes, and both are visible to all processes in the terminal server session.
That is to say, the prefix names "Global" and "Local" describe the scope of the mutex name concerning the terminal server session, not in relation to the process.
Please refer to:
System.Threading.Mutex Methods
Take Over Execution
Here, we want to implement a scenario where, when a program is clicked multiple times, only one instance A can run while other instances enter a waiting queue, and wait for A to finish running before proceeding to run the next instance in the queue.
We can compare each program to a person and simulate a bathroom stall, where only one person can use the bathroom at a time, and others need to wait in line.
Using the WaitOne() method allows us to wait for other processes to release the mutex, simulating queueing; the ReleaseMutex() method releases the use of the stall.
class Program
{
    // First program
    const string name = www.whuanle.cn;
    private static Mutex m;
    static void Main(string[] args)
    {
        // Is there a stall available?
        bool firstInstance;
        m = new Mutex(true, name, out firstInstance);

        // Someone is using the bathroom
        if (!firstInstance)
        {
            // Wait for the running instance to exit before this process can run.
            Console.WriteLine("Waiting in line");
            m.WaitOne();
            GoWC();
            return;
        }
        GoWC();

        return;
    }

    private static void GoWC()
    {
        Console.WriteLine("Starting to use the bathroom");
        Thread.Sleep(1000);
        Console.WriteLine("Opening the door");
        Thread.Sleep(1000);
        Console.WriteLine("Closing the door");
        Thread.Sleep(1000);
        Console.WriteLine("xxx");
        Thread.Sleep(1000);
        Console.WriteLine("Opening the door");
        Thread.Sleep(1000);
        Console.WriteLine("Leaving the bathroom");
        m.ReleaseMutex();
        Thread.Sleep(1000);
        Console.WriteLine("Washing hands");
    }
}

At this point, we used
m = new Mutex(true, name, out firstInstance);
Once a program finishes, allowing other threads to create a Mutex object to obtain ownership of the mutex requires us to set the first constructor parameter to true.
You can also change it to false to see what exception is thrown.
You can use WaitOne(Int32) to set a wait time in milliseconds, and if it exceeds that time, the process will stop waiting and go somewhere else.
To avoid issues, please consider performing m.ReleaseMutex() in a finally block.
Process Synchronization Example
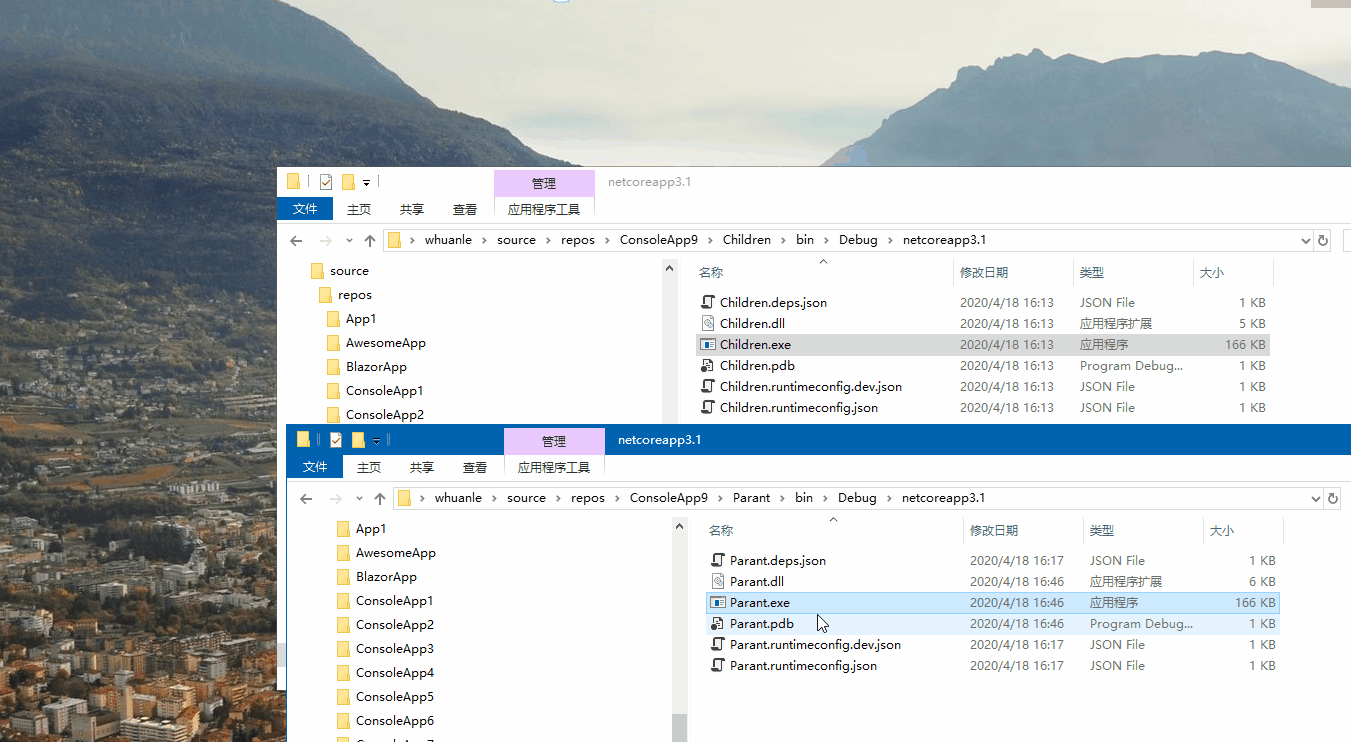
Here, we implement a scenario where the parent process Parent starts the child process Children, waits for the child process Children to complete, before both the child and the parent processes exit.
Create a new .NET Core console project called Children, with the following code in its Program.
using System;
using System.Threading;

namespace Children
{
    class Program
    {
        const string name = "进程同步示例";
        private static Mutex m;
        static void Main(string[] args)
        {
            Console.WriteLine("Child process started...");
            bool firstInstance;

            // Child process creates a mutex
            m = new Mutex(true, name, out firstInstance);

            // According to our designed program, creation must succeed
            if (firstInstance)
            {
                Console.WriteLine("Child thread performing task");
                DoWork();
                Console.WriteLine("Child thread task completed");

                // Release the mutex
                m.ReleaseMutex();
                // End the program
                return;
            }
            else
            {
                Console.WriteLine("Weird exception occurred, exiting directly");
            }
        }
        private static void DoWork()
        {
            for (int i = 0; i < 5; i++)
            {
                Console.WriteLine($"Working: {i}");
                Thread.Sleep(1000);
            }
        }
    }
}
Then publish or build the project, open the program file location, and copy the thread file path. Create a new project named Parent with the following code in its Program.
using System;
using System.Diagnostics;
using System.Threading;

namespace Parent
{
    class Program
    {
        const string name = "进程同步示例";
        private static Mutex m;
        static void Main(string[] args)
        {
            // Wait a bit before executing, for recording the screen
            Thread.Sleep(TimeSpan.FromSeconds(3));
            Console.WriteLine("Parent process started!");

            new Thread(() =>
            {
                // Start the child process
                Process process = new Process();
                process.StartInfo.UseShellExecute = true;
                process.StartInfo.CreateNoWindow = false;
                process.StartInfo.WorkingDirectory = @"../../../ConsoleApp9/Children/bin/Debug/netcoreapp3.1";
                process.StartInfo.FileName = @"../../../ConsoleApp9/Children/bin/Debug/netcoreapp3.1/Children.exe";
                process.Start();
                process.WaitForExit();
            }).Start();

            // The child process takes a little time to start
            Thread.Sleep(TimeSpan.FromSeconds(1));

            // Obtain the mutex
            bool firstInstance;
            m = new Mutex(true, name, out firstInstance);

            // Indicate that the child process is still running
            if (!firstInstance)
            {
                // Wait for the child process to finish
                Console.WriteLine("Waiting for the child process to finish");
                m.WaitOne();
                Console.WriteLine("The child process has finished, the program will automatically exit in 3 seconds");
                m.ReleaseMutex();
                Thread.Sleep(TimeSpan.FromSeconds(3));
                return;
            }
        }
    }
}
Make sure to replace the program file path of the Children project in the Parent project where it starts the child process.
Then run Parent.exe, and you can observe the following execution process:
Additionally
In the constructors, if name is specified as null or an empty string, it will create a local Mutex object that is only valid within the process.
Some usage methods of Mutex can be more obscure, so you may refer to Mutex Constructor for further details.
For opening the mutex, you can refer to:
So far, we have learned about exclusive locks with lock, Monitor, and Mutex. In the next article, we will learn about non-exclusive locking structures, Semaphore and SemaphoreSlim.

文章评论