About Neting
Initially, I planned to use Microsoft's official Yarp library to implement an API gateway, but later found it quite cumbersome and decided to abandon that approach. Currently, I have completed the basic functionalities, such as viewing Kubernetes Service information, creating Routes and Clusters, and binding them to Kubernetes Services. In simple terms, the foundational part is finished, including configuring routing and back-end service bindings. If I want to implement features like dynamic routing and direct forwarding, I just need to follow the official documentation and add middleware accordingly.
I originally intended to use .NET 6's AOT (total 40MB), but encountered some dependency and environment issues during packaging and runtime, so I gave up on that. I still deployed it using the Runtime + application approach, totaling around 120 MB.
Back-end project address: https://github.com/whuanle/neting
Front-end project address: https://github.com/whuanle/neting-web
Experience address: http://neting.whuanle.cn:30080/
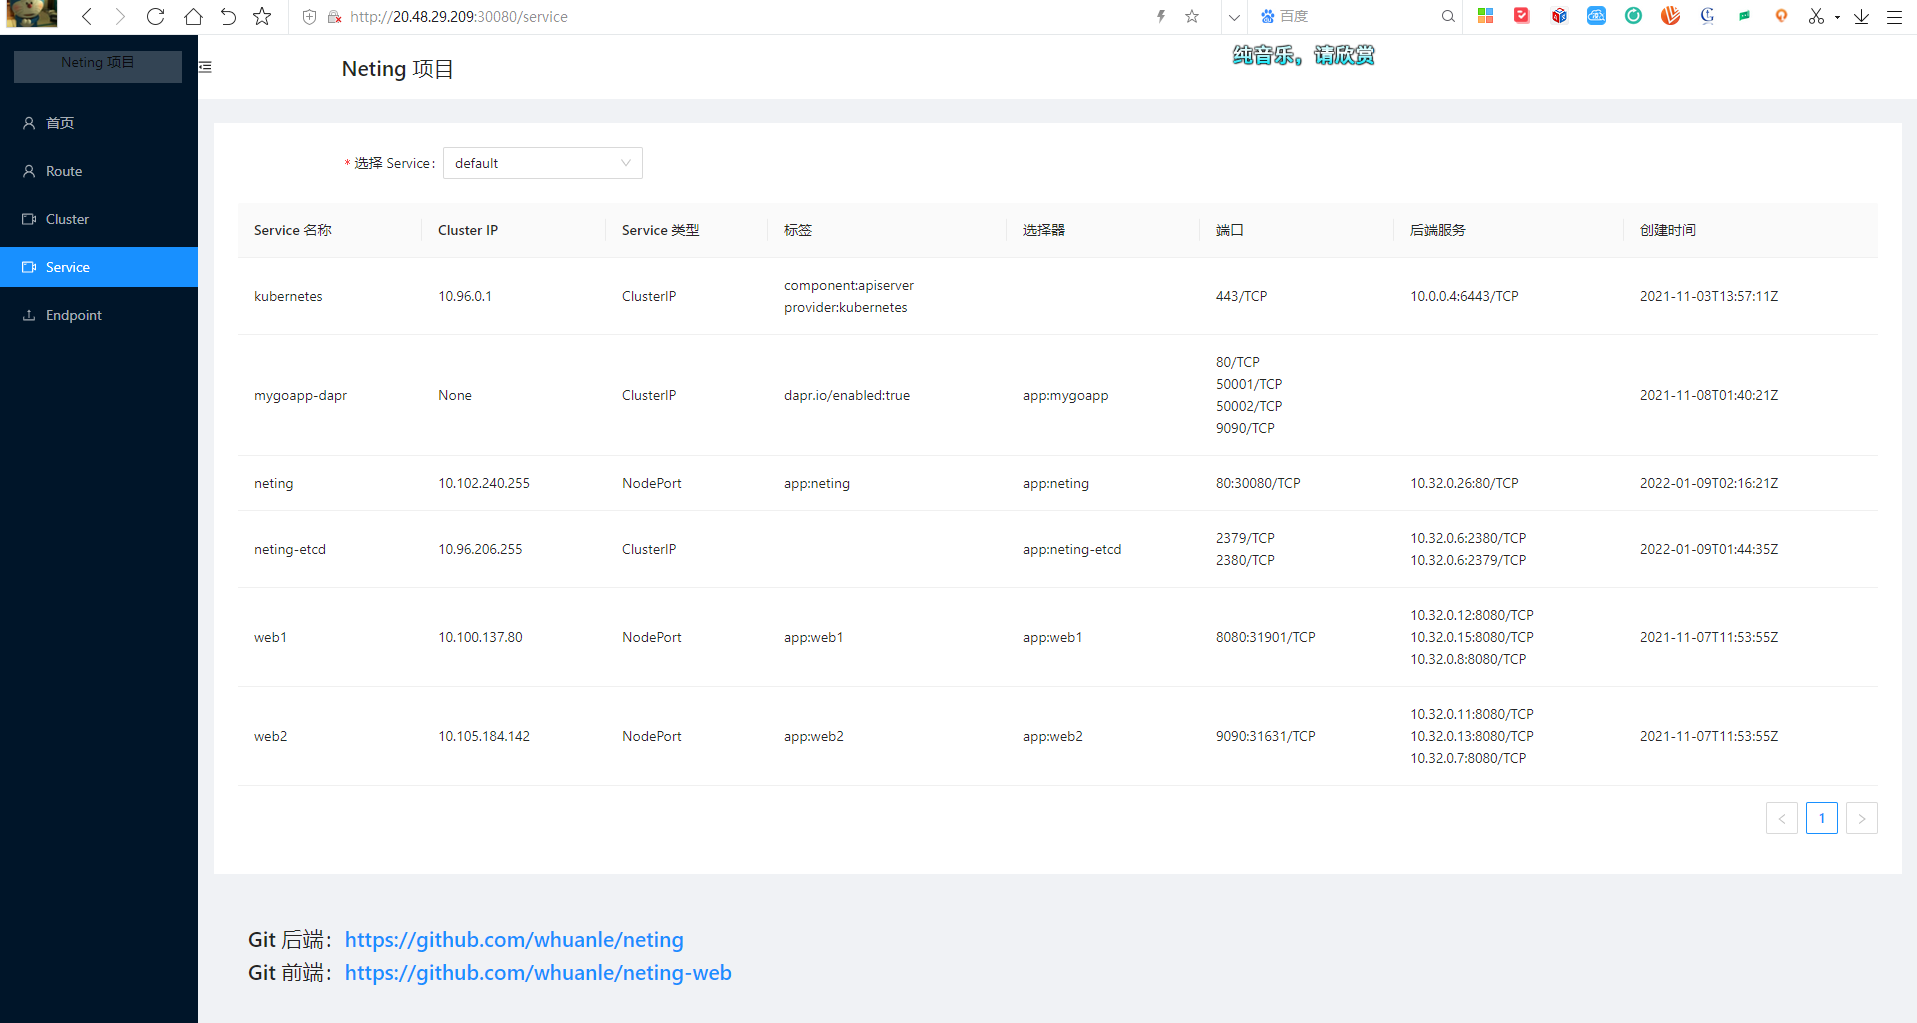
The approximate interface looks like this:
Route: This is the source entry that supports http/https and gRPC. The Route is designed to handle how visitor traffic binds to back-end services before entering the cluster, allowing configuration of rules for matching visitor URLs.
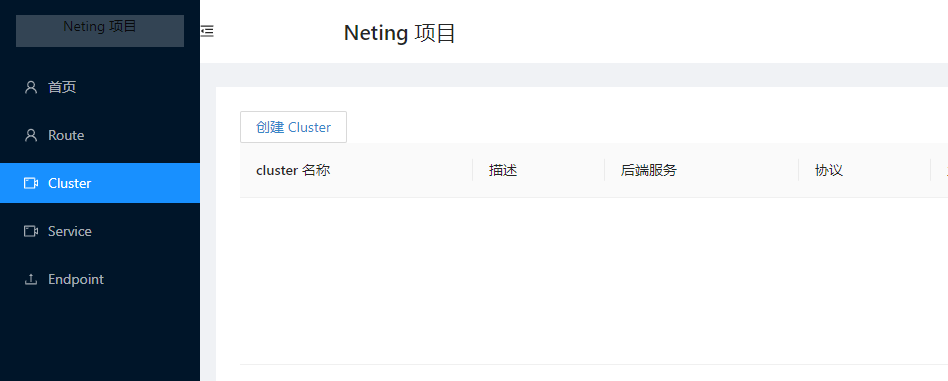
Cluster: This represents back-end services. A Cluster can bind multiple types of back-end services, mainly implementing access to multiple microservices with different domain name suffixes, or load balancing for the same instance, among other things.
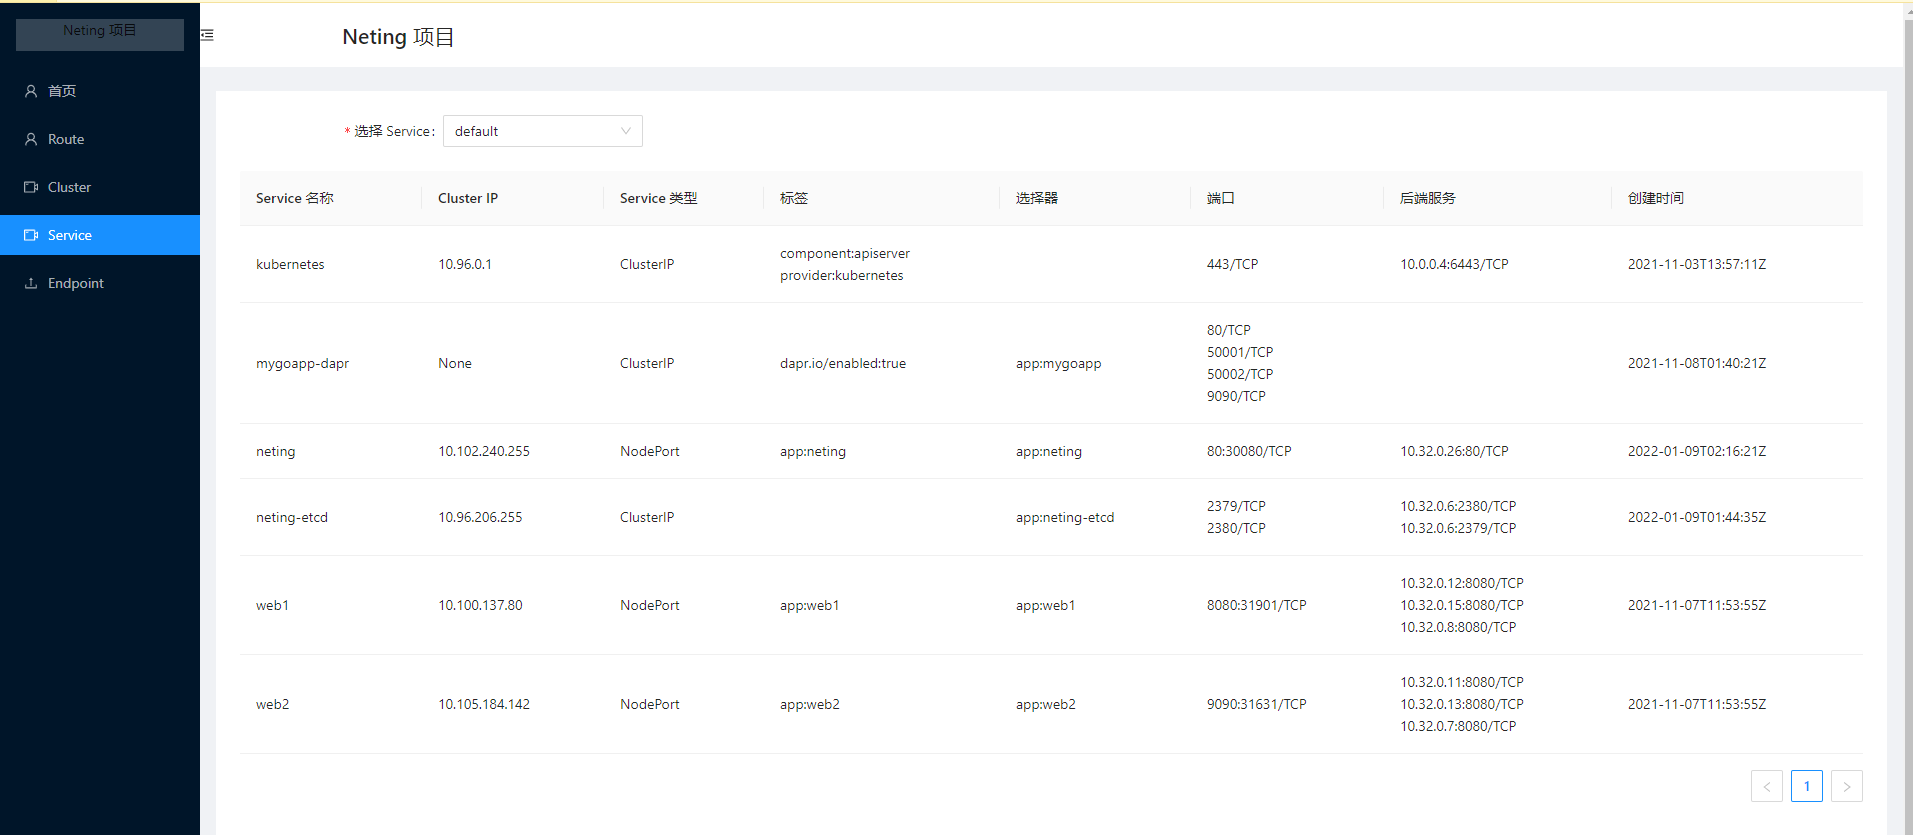
Service: Used to view some network information about Kubernetes Services.
Currently, Neting has only implemented basic configurations, serving to help the reader understand Yarp and get started with Kubernetes API development, as well as monitoring cluster resources. Readers can also learn about the use of etcd and how to design a Kubernetes Controller application from this.
The basic functionalities are already in place, and readers can add middleware as needed.
Next, I will introduce how to deploy the Neting project, requiring readers to create the cluster in advance.
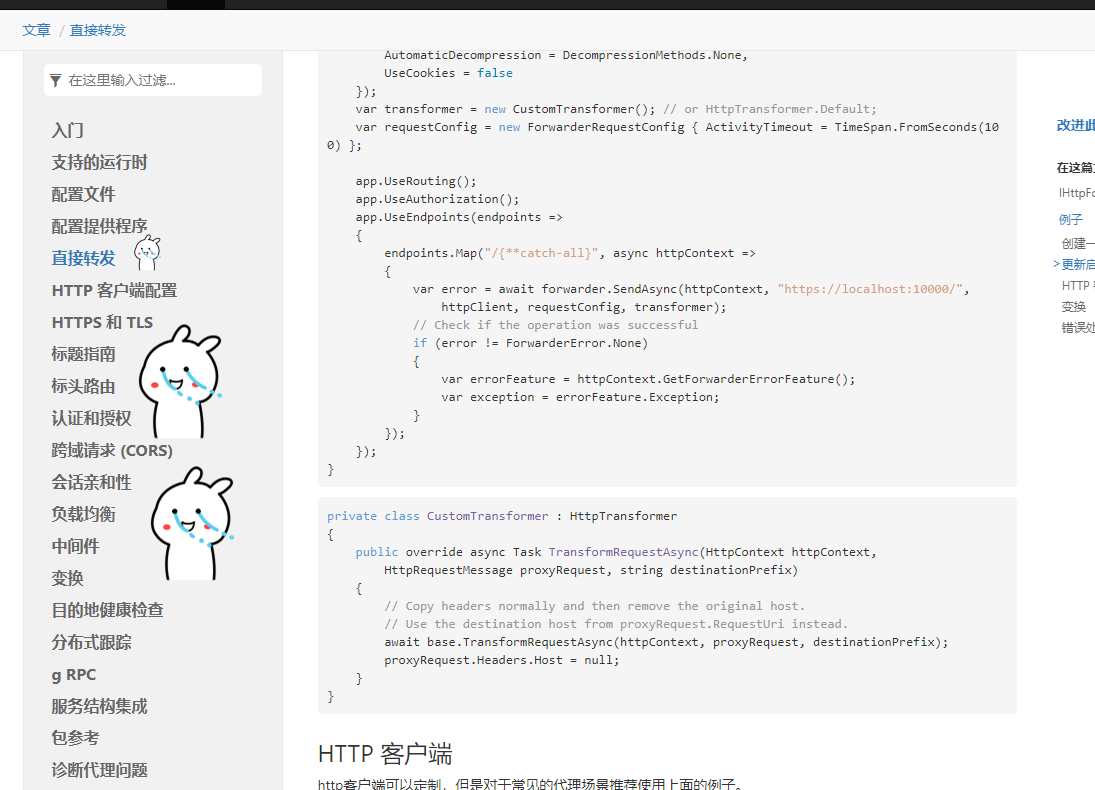
Let’s talk about my views on Yarp.
First, the repository address for Yarp is https://github.com/microsoft/reverse-proxy.
The repository is under Microsoft's official account. From the information I gathered, Yarp was primarily developed to meet internal needs at Microsoft, and there's speculation that it was also for Azure. The code in the repository mainly addresses Microsoft's internal requirements, and many APIs are not very friendly to external developers, making actual development somewhat challenging. Of course, there is a lot of customizability, mainly focusing on extending various aspects of ASP.NET Core middleware.
Additionally, this project is not a mature one; Yarp is merely a library and not a complete application. Many aspects have yet to be confirmed for stability, there are no performance testing reports, and there aren’t any mature applications built on it. The development difficulty in the API and other areas is still quite complex, and many areas in the documentation are unclear.
Deploying etcd
The main design of Neting uses etcd as the data storage back end. When a user creates a reverse proxy or other types of rules, etcd Watch automatically notifies the Neting instance to refresh these configurations in memory for use by Yarp (although it's possible to delay placing them into memory and fetch them from etcd only when needed).
Neting uses etcd as a storage back end, supporting clusters, but here I used a single etcd instance for convenience. Since etcd is a stateful application, a storage volume must be bound. Furthermore, etcd also needs to create a service for accessing the instance within the cluster.
etcd cluster (single-instance cluster) -> Service (named neting-svc)
     ↓
PersistentVolumeClaim
     ↓
PersistentVolume
You can find the files etcd.yaml, etcds.yaml, and neting-etcd.yaml under the project’s yaml directory to see how to deploy the etcd cluster.
For convenience, the created storage volume is a local volume, which cannot share data across nodes. However, you can modify the neting-etcd.yaml file to use other types of volumes.
  hostPath:
      # Directory location on the host that needs to be created beforehand
    path: /data/etcd
      # This field is optional
    type: Directory
Upload the neting-etcd.yaml file to the cluster and then create the etcd instance.
root@master:~/neting# kubectl apply -f neting-etcd.yaml
service/neting-etcd created
statefulset.apps/neting-etcd created
persistentvolume/neting-etcd created
When creating the etcd cluster, multiple related resources will be created.
root@master:~/neting# kubectl get statefulset
NAME          READY   AGE
neting-etcd   1/1     36s

root@master:~/neting# kubectl get pv
NAME          CAPACITY   ACCESS MODES   RECLAIM POLICY   STATUS
neting-etcd   1Gi        RWO            Recycle          Available

root@master:~/neting# kubectl get svc
NAME           TYPE        CLUSTER-IP       EXTERNAL-IP   PORT(S)                               AGE
neting-etcd    ClusterIP   10.96.206.255    <none>        2379/TCP,2380/TCP                     54s
In fact, this also includes PersistentVolumeClaim, which can be checked with
kubectl get pvc.
Creating Secret
The primary role of secret is to provide user login credentials for Neting, specifically the aforementioned admin/admin123. This configuration is written in secret.yaml.
The content of secret.yaml is as follows:
apiVersion: v1
kind: Secret
metadata:
  name: neting-basic-auth
type: Opaque
stringData:
# Neting's login credentials
  NETING_USER: admin
  NETING_PASSWORD: admin123
  NETING_TOKENKEY: dzbfhisj@3411DDFF5%$%^&&
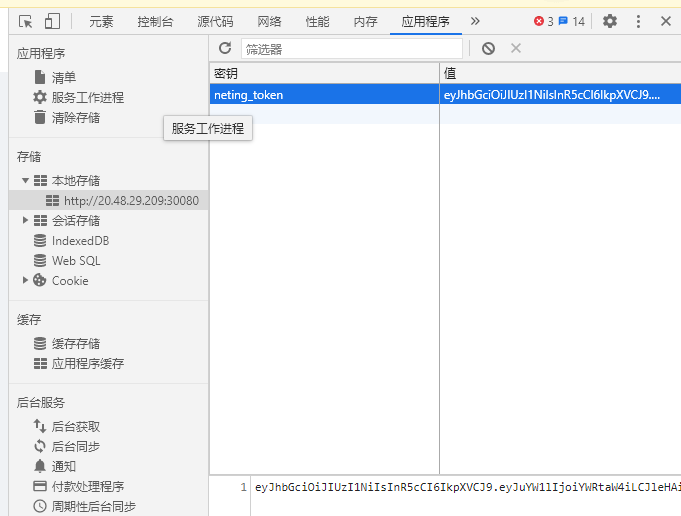
This configuration is quite simple, where NETING_TOKENKEY represents the secret key for signing the token. Neting uses Jwt Token as user credentials, which requires encryption of user information signatures when issuing tokens to users.
Upload secret.yaml to the cluster and create it. The information in Secret will ultimately be base64 encoded and stored in Kubernetes's etcd (note that this is not the etcd created earlier). The information in the secret will eventually appear in the Neting Pod as environment variables.
root@master:~/neting# kubectl apply -f secret.yaml
secret/neting-basic-auth created

root@master:~/neting# kubectl get secret
NAME                      TYPE                                  DATA   AGE
neting-basic-auth         Opaque                                3      10s
...
data:
  NETING_PASSWORD: YWRtaW4xMjM=
  NETING_TOKENKEY: ZHpiZmhpc2pAMzQxMURERkY1JSQlXiYm
  NETING_USER: YWRtaW4=
kind: Secret
Deploying Neting
The dependency relationships of Neting are as follows:
Neting -> Start (Secret)
 ↓
Service - etcd
 ↓
etcd instance
Neting is a web project composed of ASP.NET Core API + React/Ant Design. For structural simplicity, Neting hosts the front-end static files in the wwwroot directory to facilitate access on the same port and reduce cross-origin issues and IP bindings.
Neting has been uploaded to Alibaba Cloud's image repository. The docker pull address is: registry.cn-hangzhou.aliyuncs.com/whuanle/neting:review1.0.
Neting is required to connect to the Kubernetes API Server within the Pod, so it needs to configure ServiceAccount or directly use Kubeconfig. Unfortunately, the C# KubernetesClient does not provide good support for ServiceAccount, so I must use Kubeconfig. However, using Kubeconfig directly might pose some security issues. Fortunately, this is a demo, and Neting will only use Servive and Endpoint information, without modifying or deleting anything in the cluster. Therefore, to conduct higher security level operations, you may try to solve the Kubernetes - C# ServiceAccount issues yourself.
The experience with C# SDK for Kubernetes and etcd is not great, so for developing cloud-native middleware, using Go would be more beneficial; C# is better suited for business logic development.
Copy your Kubernetes management configuration file to /root/.kube/config. Note that this step must be done on the node where the Pod will be scheduled, as this configuration file cannot be used across nodes.
cp -f /etc/kubernetes/admin.conf /root/.kube/config
Then start Neting:
kubectl apply -f neting.yaml
Next, create a Service for Neting to allow external access.
root@master:~/neting# kubectl apply -f neting-svc.yaml
service/neting created

root@master:~/neting# kubectl get svc -o wide
neting         NodePort    10.102.240.255   <none>        80:30080/TCP                          11s   app=neting
neting-etcd    ClusterIP   10.96.206.255    <none>        2379/TCP,2380/TCP                     31m   app=neting-etcd
Once the deployment is complete, it can be accessed via the node's IP and port 30080.
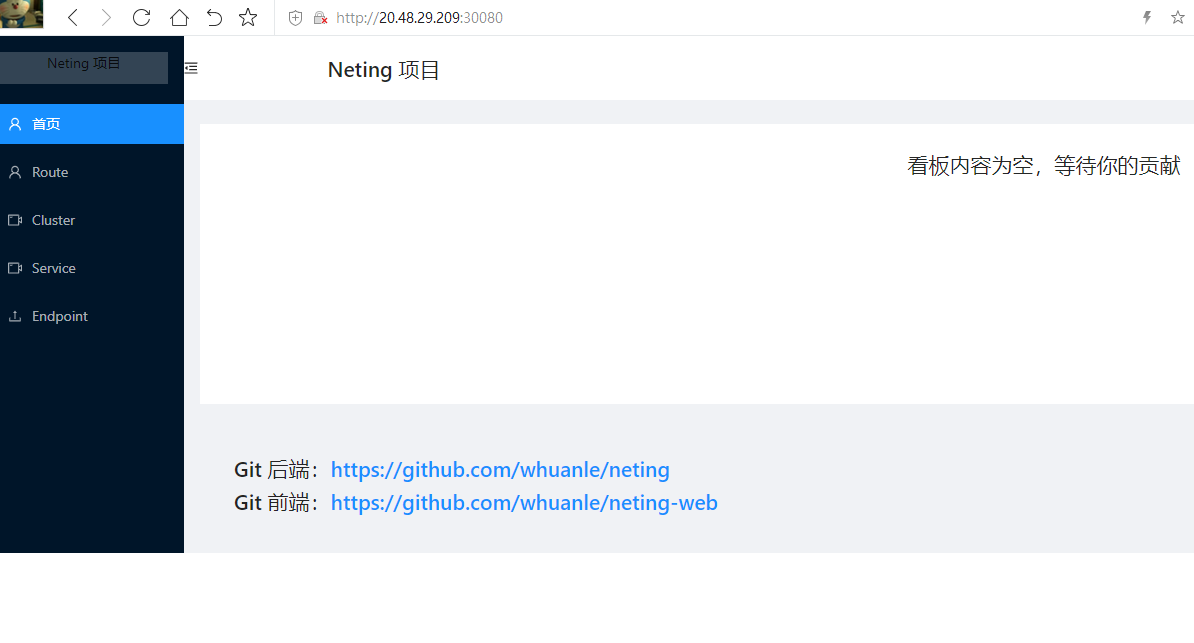
Then, if you click on any menu, you will be prompted to log in.
The username and password are admin and admin123.

After logging in, the credentials will be stored in your browser, valid for 7 days.
Clicking on Service will show the information of the Services in the cluster.
Usage
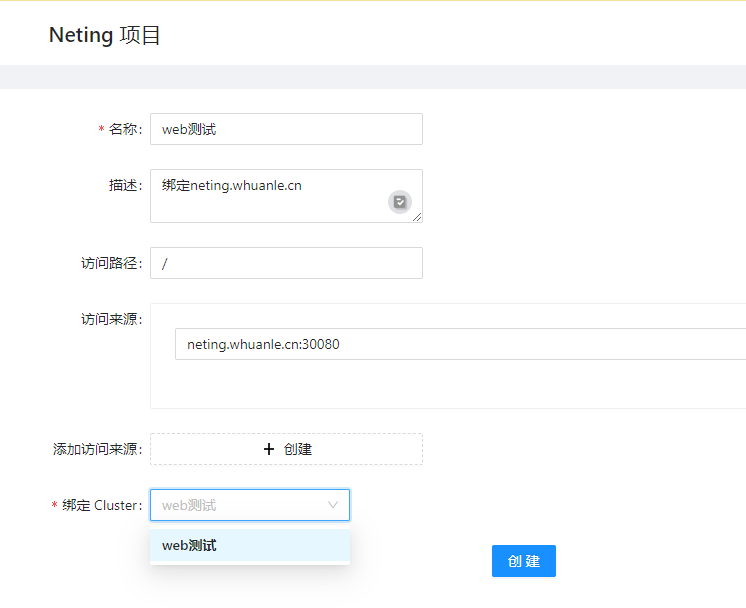
Next, let's create a Yarp reverse proxy configuration.
The binding of Yarp's reverse proxy objects is divided into two parts: Route and Cluster.
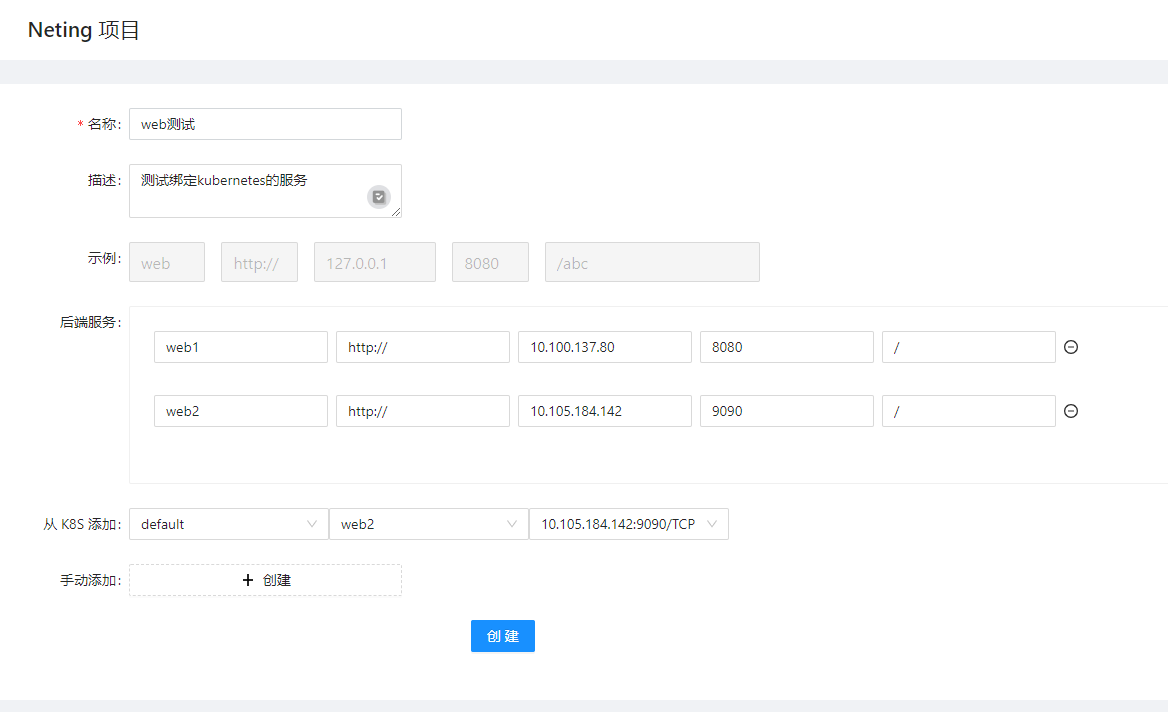
A Cluster represents a back-end instance, for instance, if you have an application deployed with N instances, each having an IP, the Cluster needs to record these instance IPs so that a load balancing algorithm can select one to visit. YARP comes with built-in load balancing algorithms, but also provides extensibility for any custom load balancing methods. I won't elaborate on this here.
Readers can refer to https://microsoft.github.io/reverse-proxy/articles/load-balancing.html.
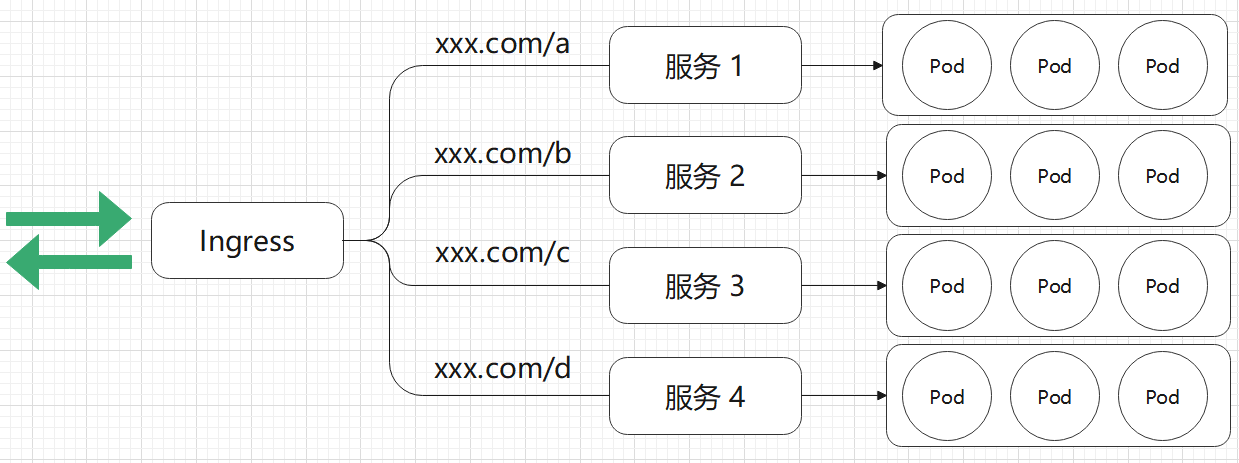
In my Kubernetes environment, I have two applications (web1 and web2) left over from testing Ingress, which I can use here.

Next, I resolved a domain name and bound it to the application at my domain management.

Now, let’s create a Route.

It is possible to design an API gateway based on the Yarp project or replace Kubernetes's Ingress to implement traffic ingress, combining API gateway and load balancing.
You might even be able to write service mesh capabilities similar to Dapr, using a sidecar approach to provide non-intrusive traffic proxy services for applications in the cluster.
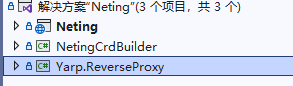
Project Overview
Neting is the back-end project, while NetingCrdBuilder is unrelated to the current project. It was originally intended to create custom resources and a Kubernetes Operator similar to Dapr, but I decided not to write it. Yarp.ReverseProxy is the foundational library of Yarp; in order to publish it for debugging and source code review, I extracted the source code and referenced it directly.
Most of the back-end project has comments, so I won't elaborate on it here.
If you wish to test and develop locally, you need to pull down both front-end and back-end projects.
For local development, you'll need to modify the configuration in the appsettings.json or appsettings.Development.json file of the back-end project.
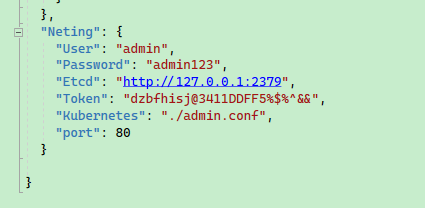
Here, admin.conf is the authentication configuration file for connecting to the Kubernetes API Server. Authorization to access resources can only occur when connecting to Kuberntes using this configuration file. The code is located in KubernetesExtensions; you can also access Kubernetes for development through Kubernetes proxy or other means.

Then, in the front-end's Constants.js file, configure your local back-end address.
export const Options = {
    // host: "http://127.0.0.1:80"  // Development configuration
    host: ""                        // Deployment configuration
}
If both front-end and back-end are under the same port, then simply set host:"".

文章评论