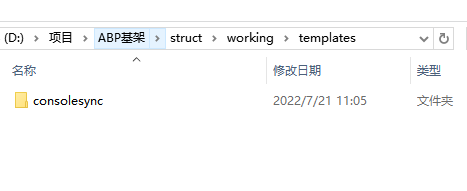
Directory Structure:
└─templates
└─consolesync
└─content
├─.template.config
├──template.json
└─AAA.Web.API
### Template Directory
1. Create an empty directory at will, then create one inside it, and create the template directory under templates. The name of this command can be arbitrary. Let's call it S directory.

2. Create a template directory under templates. The name of this command can also be arbitrary. This is the directory where the template is stored.
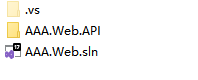
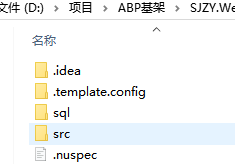
3. Create two directories under the template directory, named `content` and `license`. The `license` directory is optional, while the `content` directory is used for storing solutions, directories, etc.
### Creating Project and Template Configuration
4. Create a solution or project as you normally would. Note that for the solution or project, please use a fixed unified prefix, such as `AAA.Web`. Additionally, it's best to use two-part combinations, avoiding `AAA` and using `{part1}.{part2}` for easier identification.
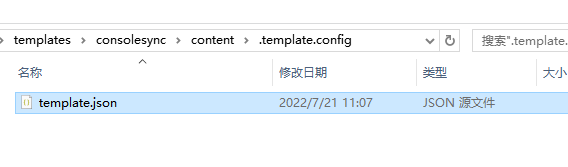
5. Within the content directory, create a `.template.config` directory, and then create a `template.json` file inside the `.template.config` directory.
```json
{
"$schema": "http://json.schemastore.org/template",
"author": "Me",
"classifications": [ "Common", "Console" ],
"identity": "ExampleTemplate.AsyncProject",
"name": "Example templates: async project",
"shortName": "aaaweb",
"tags": {
"language": "C#",
"type": "project"
},
"sourceName": "AAA.Web",
"preferNameDirectory": true
}
Among them, "sourceName": "AAA.Web" is the variable in your template you want to replace. For example, if you set AAA.Web, when creating a project through the template, AAA.Web.sln will be replaced with the new name.

Reference: https://docs.microsoft.com/zh-cn/dotnet/core/tools/custom-templates
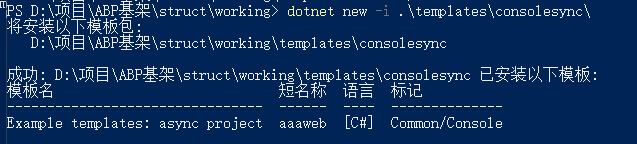
Installing the Template Project
- Then, execute the following command above the
templatesdirectory:
dotnet new -i .\templates\consolesync\
- Create a template with
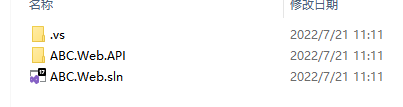
dotnet new aaaweb -n ABC.Web, and you can see thatAAA.Webhas been replaced byABC.Web.

Reference: https://docs.microsoft.com/zh-cn/dotnet/core/tutorials/cli-templates-create-item-template
Packing the Template Project and Pushing
You will need to rely on nuget.exe, which can be downloaded from: https://www.nuget.org/downloads
Then set up the environment variables.
In the content directory, create a .nuspec file with the following content:
<?xml version="1.0" encoding="utf-8"?>
<package xmlns="http://schemas.microsoft.com/packaging/2012/06/nuspec.xsd">
  <metadata>
    <id>AAA.Web</id>
    <version>1.0.0</version>
    <description>
      My Template
    </description>
    <authors>webmote</authors>
    <packageTypes>
      <packageType name="Template" />
    </packageTypes>
  </metadata>
</package>
Then execute the command:
nuget pack .\content\.nuspec
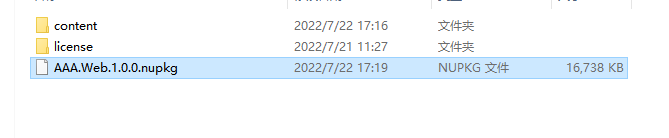
A .nupkg package will be generated.
Then use the dotnet nuget or nuget command to push the nupkg package. You can manually upload the file to nuget.org, while for private repositories, commands are usually required.
If you have the nupkg file, you can install the template like this:
dotnet new -i xxx1.0.0.nupkg
If pushing to a repository, you can check for the pull command. The local environment needs to be configured with the repository source.
The command could be:
dotnet new --install AAA.Web::1.0.0
This way, the template can be pulled to the local environment.

文章评论