DDNS
This is a tool for dynamically modifying Tencent Cloud domain records based on the current public IP. If the broadband is not a dedicated line, the IP may change every few days, which complicates domain binding.
This tool dynamically identifies the current public IP address of the network and pushes the changing IP to the existing domain resolution within Tencent Cloud, achieving dynamic binding of the domain to the IP.
Note: Machines in China that are not registered cannot provide external services!
http://www.gov.cn/gongbao/content/2005/content_93018.htm
Non-commercial Internet Information Service Record Management MeasuresTo provide non-commercial Internet information services within the People's Republic of China, it is necessary to go through registration procedures as required by law.
Without registration, non-commercial Internet information services cannot be conducted within the People's Republic of China.
Download
Open: https://github.com/whuanle/ddns-tencent/releases
Find the corresponding binary file for your operating system.
Configuration File
You need to create a config.json file in the directory where the program runs (the directory where the command is executed, not the program's directory), with the following content format:
{
  "SecretId": "id",
  "SecretKey": "密钥",
  "Domain": "666.cn",
  "SubDomain": "域名前缀",
  "RecordType": "记录类型,如 A、NX",
  "RecordLine": "线路名称",
  "Value": "123.123.123.123",
  "MX": 5,
  "TTL": 600,
  "RecordId": 1220273909
}
Note, the program uses https://ipinfo.io/ip to detect the current public IP address, which may be slow, so it is recommended to replace it with other tools' addresses available in China.
Obtain Tencent Cloud API Key
Open: https://console.cloud.tencent.com/cam/capi
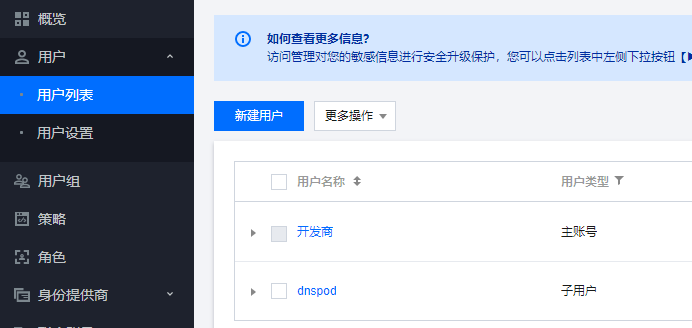
Create or obtain the access key for the Tencent Cloud API, it is recommended to use a sub-account!
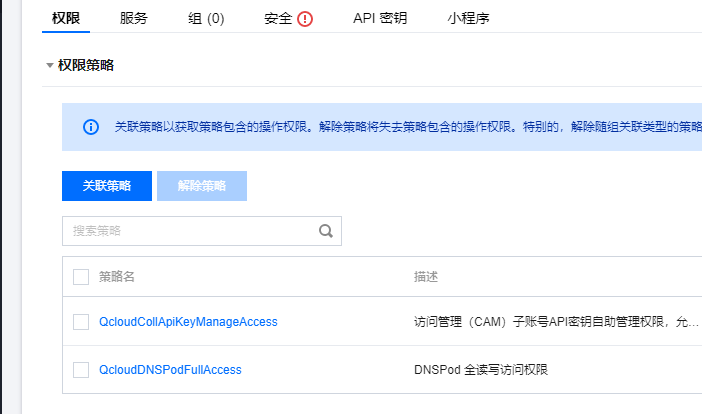
Grant the sub-account the permissions QcloudCollApiKeyManageAccess and QcloudDNSPodFullAccess.
Then log in to the console using the sub-account, open https://console.cloud.tencent.com/cam/capi
Create a new key:
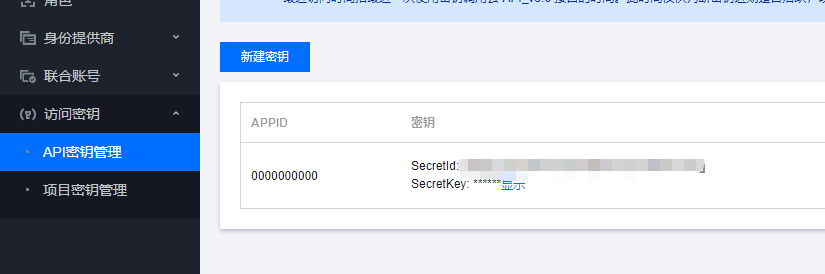
Copy SecretId and SecretKey and store them in config.json.
Obtain Domain Information
Open https://console.cloud.tencent.com/cns
Find your domain and add a domain resolution first.
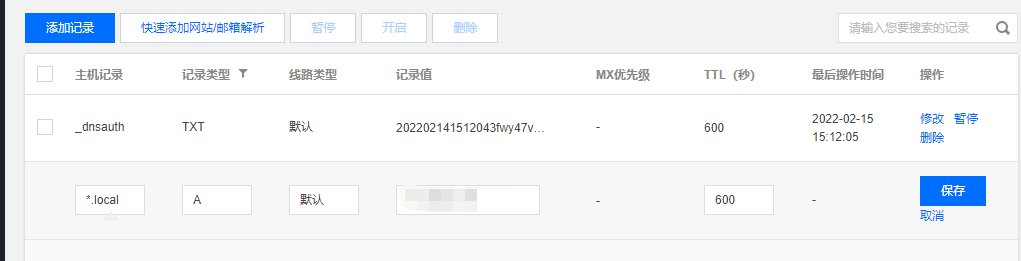
Next, you need to obtain the id of this record, which is the RecordId.
Method ①:
Click to modify the domain record, but do not save yet. Press F12, then click save.
In the browser console, you can see a request:
https://wss.cloud.tencent.com/dns/api/record/update?g_tk={id of this record}
Based on this request, copy the record id at the end.
Method ②:
Open: https://console.cloud.tencent.com/api/explorer?Product=dnspod&Version=2021-03-23&Action=DescribeRecordList
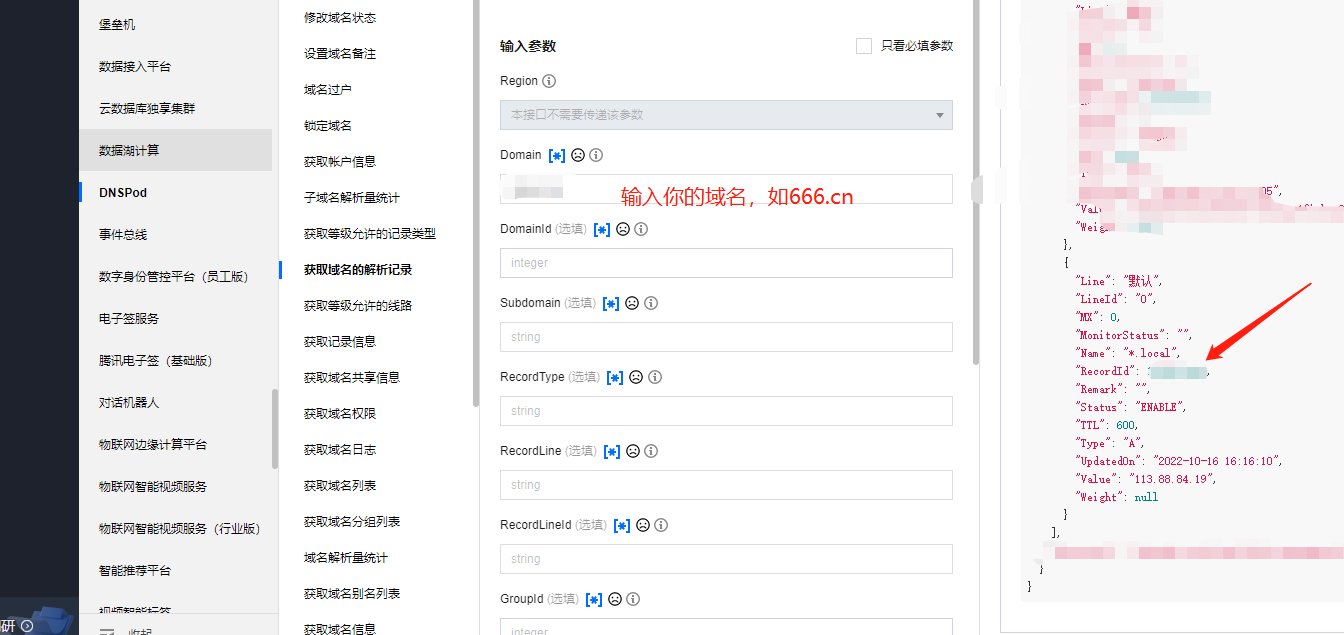
Put the RecordId into config.json.
Configuration Instructions
After following the above steps, there are still some configurations that need to be modified:
  "Domain": "666.cn",
  "SubDomain": "域名前缀",
  "RecordType": "记录类型,如 A、NX",
  "RecordLine": "线路名称",
  "Value": "123.123.123.123",
  "MX": 5,
  "TTL": 600,
These are actually the configurations corresponding to the domain resolution records. This program will only dynamically modify the IP, and other modification contents will follow the configuration in config.json.
You can also check here for explanations of each parameter:
https://docs.dnspod.cn/api/modify-records/
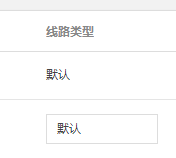
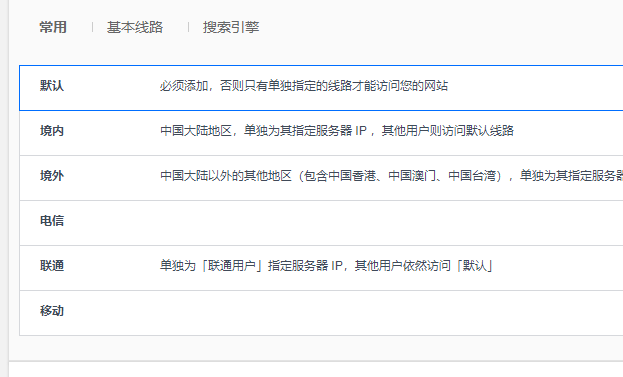
The RecordLine parameter refers to the line name, which can be set to 默认.
Linux Scheduled Tasks
First, copy the program to a Linux directory. The program can be placed in any directory, but config.json must be placed in the root directory because the directory from which the Linux Cron runs is the root or other user directories.
Open the /etc/cron.d directory and create a new file named ddns, with the following content:
* * * * * root /root/ddns
* * * * * root sleep 10; /root/ddns
* * * * * root sleep 20; /root/ddns
* * * * * root sleep 30; /root/ddns
* * * * * root sleep 40; /root/ddns
* * * * * root sleep 50; /root/ddns
* * * * * indicates to run every minute;
root indicates the user under which to start the program;
/root/ddns is the program's directory;
sleep 20; is the sleep time.
Since the granularity of the Linux Cron is one minute, if you need to run the script every 10 seconds, you need to set multiple records, using sleep for delayed execution.
Then run service cron reload to refresh the scheduled tasks.
Since the scheduled tasks do not display program logs, you can change it to:
* * * * * root /root/ddns >> /tmp/ddns.log
* * * * * root sleep 10; /root/ddns >> /tmp/ddns.log
* * * * * root sleep 20; /root/ddns >> /tmp/ddns.log
* * * * * root sleep 30; /root/ddns >> /tmp/ddns.log
* * * * * root sleep 40; /root/ddns >> /tmp/ddns.log
* * * * * root sleep 50; /root/ddns >> /tmp/ddns.log

文章评论