Tauri is an application building toolkit that enables you to build software for all major desktop operating systems using web technologies.
Official website: https://tauri.app/zh-cn/
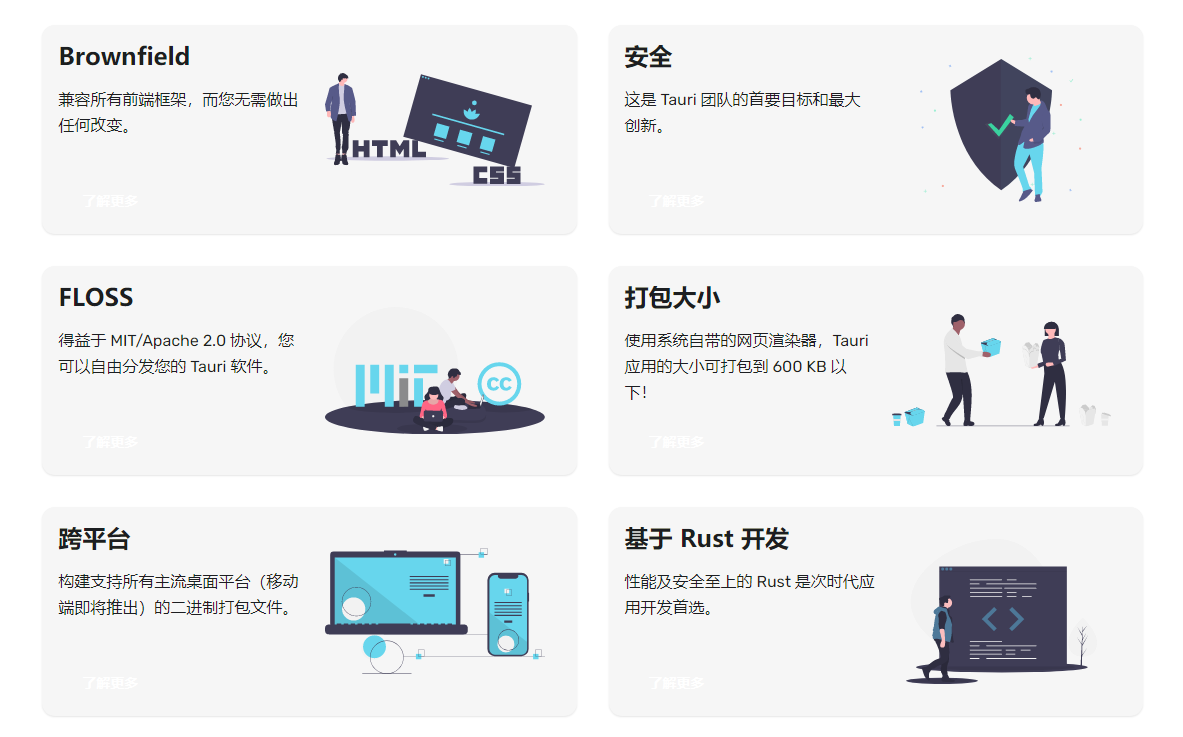
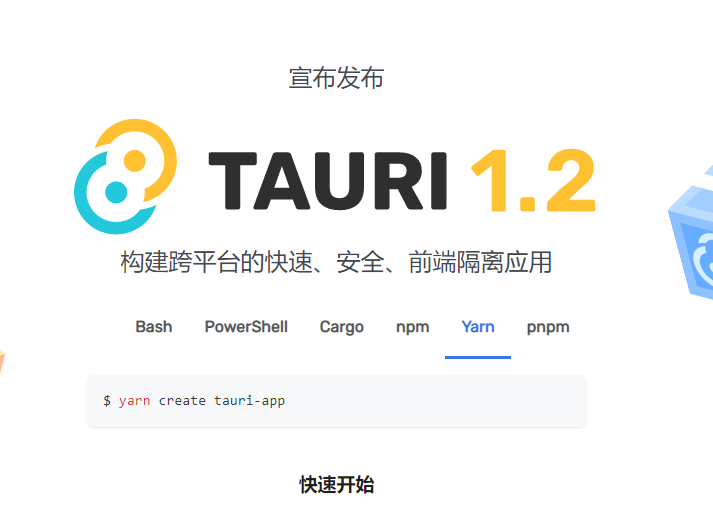
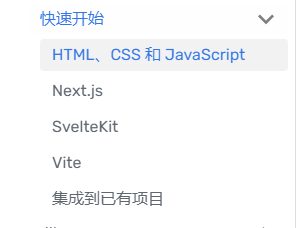
Tauri can build fast, secure, and front-end isolated applications that are cross-platform. Tauri supports various methods for creating project templates:
Install Development Environment
Tauri supports development on Windows, Linux, and Mac systems. This article will focus on the development setup under Windows.
First, you need to install the C++ core desktop features component, which can be downloaded here:
Next, install the Windows SDK; you can find the download link here: https://developer.microsoft.com/en-us/windows/downloads/sdk-archive/
Then, install WebView2 with the following download link: https://developer.microsoft.com/zh-cn/microsoft-edge/webview2/#download-section
Finally, you need to install Rust by downloading it from the official site: https://www.rust-lang.org/tools/install
Or you can use the Powershell command to install it:
winget install --id Rustlang.Rustup
You need to be connected to a VPN to speed up the download.
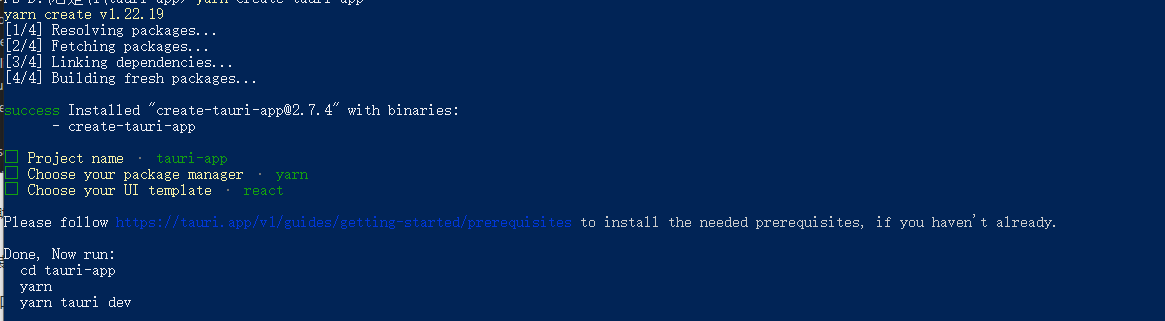
Once the installation is complete, you can start creating a front-end project.
For example, if I use React for development:
yarn create tauri-app
Of course, there are other ways to create front-end projects; please refer to the official documentation.
Development
After creating the project, execute the following commands to start it:
cd tauri-app
yarn
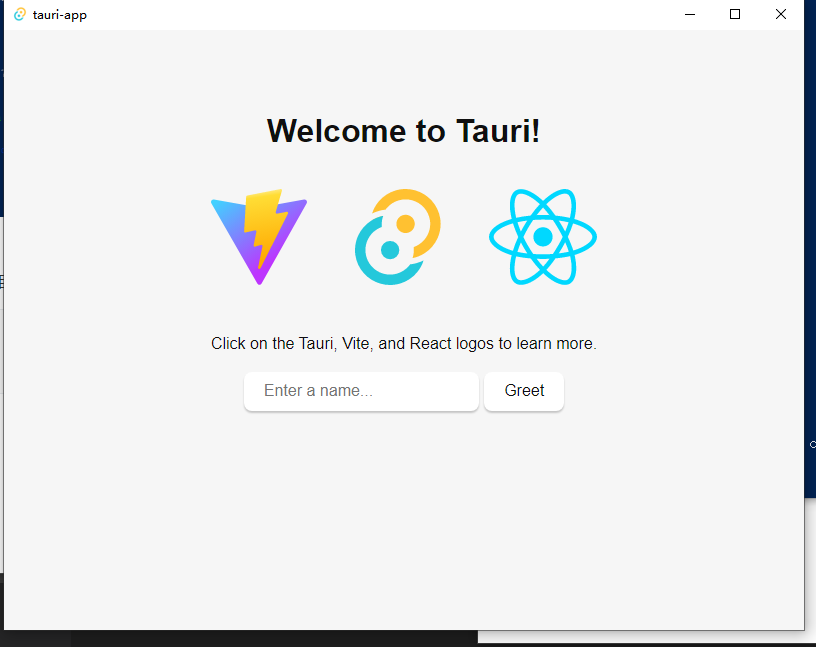
yarn tauri dev
If you want to call Rust functions from JS, it's also very simple.
First, install the tauri CLI:
yarn add -D @tauri-apps/cli
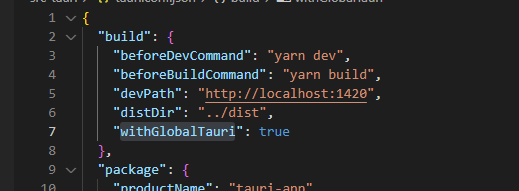
Then open tauri.conf.json and set the value of withGlobalTauri to true.
Next, open the main.rs file, and you will see the following content:
#![cfg_attr(
    all(not(debug_assertions), target_os = "windows"),
    windows_subsystem = "windows"
)]

// Learn more about Tauri commands at https://tauri.app/v1/guides/features/command
#[tauri::command]
fn greet(name: &str) -> String {
    format!("Hello, {}! You've been greeted from Rust!", name)
}

fn main() {
    tauri::Builder::default()
        .invoke_handler(tauri::generate_handler![greet])
        .run(tauri::generate_context!())
        .expect("error while running tauri application");
}
In the default file, a function has already been provided for JS:
#[tauri::command]
fn greet(name: &str) -> String {
    format!("Hello, {}! You've been greeted from Rust!", name)
}
The #[tauri::command] macro exposes this function to JS.
Then, in the main function, this macro is registered:
.invoke_handler(tauri::generate_handler![greet])
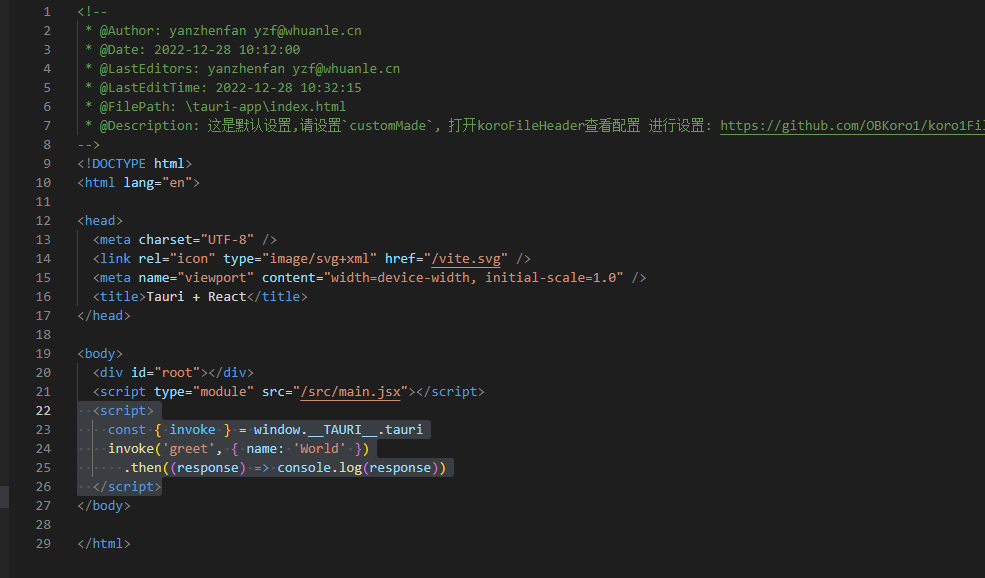
Next, we will write JS code in index.html to use this Rust function:
    <script>
      // Access the packaged global API function
      const { invoke } = window.__TAURI__.tauri

      // Now we can call the command!
      // Right-click in the application window to open the developer tools
      // You will see "Hello, World!" printed in the console!
      invoke('greet', { name: 'World' })
        // `invoke` will return a Promise
        .then((response) => console.log(response))
    </script>
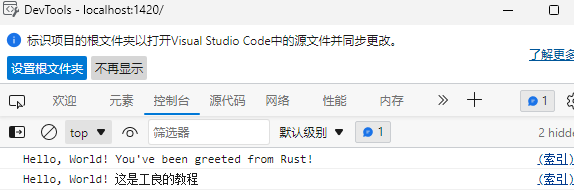
Restart the client, press F12, and you’ll see in the console:

For example, if we define another function:
#[tauri::command]
fn myfunc(name: &str) -> String {
    format!("Hello, {}! This is whuanle's tutorial", name)
}
Register it:
    tauri::Builder::default()
        .invoke_handler(tauri::generate_handler![greet, myfunc])
        .run(tauri::generate_context!())
        .expect("error while running tauri application");
Packaging
First, open tauri.conf.json and modify the package name according to the following path.
> tauri > bundle > identifier
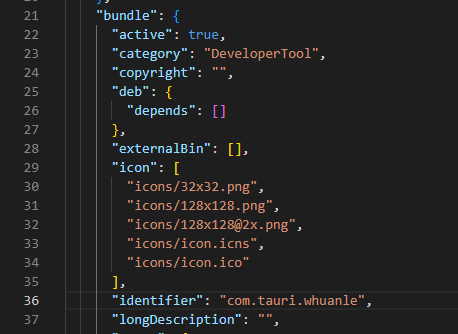
Make sure not to set any Chinese characters.
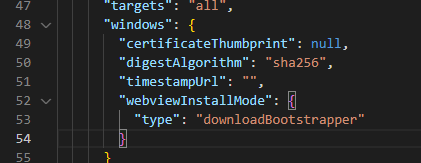
On Windows, WebView2 is required, and Tauri supports the following packaging methods:
| Need Internet Connection | Additional Installation Package Size | Remarks | |
| ------------------------------------------------------------ | ----------------------------------- | -------- | ------------------------------------------------------------ |
| downloadBootstrapper | Yes | 0MB | Default Results in a smaller installer size, but is not recommended for Windows 7 deployment. |
| embedBootstrapper | Yes | ~1.8MB | Better support on Windows 7. |
| offlineInstaller | No | ~127MB | Embeds WebView2 installer. Recommended for offline environments |
| fixedVersion | No | ~180MB | Embeds a fixed WebView2 version |
| skip | No | 0MB | ⚠️ Not recommended Does not install WebView2 as part of the Windows Installer. |
Here we choose the first method:
      "windows": {
        "certificateThumbprint": null,
        "digestAlgorithm": "sha256",
        "timestampUrl": "",
        "webviewInstallMode": {
          "type": "downloadBootstrapper"
        }
Then execute the packaging command:
yarn build
yarn tauri build
Next will appear a lengthy packaging process.

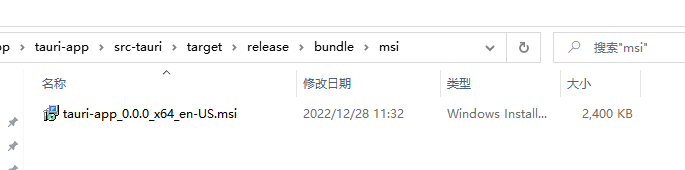
Surprisingly, the small installation package even comes with an installation interface.
pake
Pake is a tool written based on Tauri, which is used to package webpages into a client.
// Install using npm
npm install -g pake-cli

// Command usage
pake url [options]

// Example
pake https://www.whuanle.cn --name whuanle --transparent
However, I failed to package it.

文章评论