Tutorial Title: Getting Started with Deep Learning Using C#
Author: whuanle
Tutorial URL:
https://torch.whuanle.cn
E-book Repository: https://github.com/whuanle/cs_pytorch
Maomi.Torch Project Repository: https://github.com/whuanle/Maomi.Torch
VGG: A Very Deep Convolutional Network for Large-Scale Image Recognition
This article primarily explains the use of the VGG network, a very deep convolutional network for large-scale image recognition. It details how to implement your own dataset for image classification training models and recognition using VGG. The VGG variants include vgg11, vgg11_bn, vgg13, vgg13_bn, vgg16, vgg16_bn, vgg19, and vgg19_bn. The implementation of the VGG architecture can be referred to in the paper: https://arxiv.org/abs/1409.1556
Chinese version of the paper:
Dataset
This article primarily uses the classic image classification dataset CIFAR-10 for training. The CIFAR-10 dataset contains 10 categories, each with 60,000 images, 50,000 training images, and 10,000 test images. Each image has undergone preprocessing to generate a 32x32 color image.
The 10 categories of CIFAR-10 are:
airplane
automobile
bird
cat
deer
dog
frog
horse
ship
truck
Here are several methods to locally import the dataset.
Direct Download
Since CIFAR-10 is a classic dataset, TorchSharp supports the automatic download of this dataset by default. However, due to network issues, users in China may need to use a VPN to download the dataset. The dataset will be automatically downloaded and imported:
// Load training and validation data

var train_dataset = datasets.CIFAR10(root: "E:/datasets/CIFAR-10", train: true, download: true, target_transform: transform);
var val_dataset = datasets.CIFAR10(root: "E:/datasets/CIFAR-10", train: false, download: true, target_transform: transform);
opendatalab Dataset Community
Opendatalab is an open-source dataset community repository containing a large number of datasets available for free download. Here’s how to download datasets from opendatalab, which will be very helpful for readers' learning.
CIFAR-10 dataset repository URL:
https://opendatalab.com/OpenDataLab/CIFAR-10/cli/main
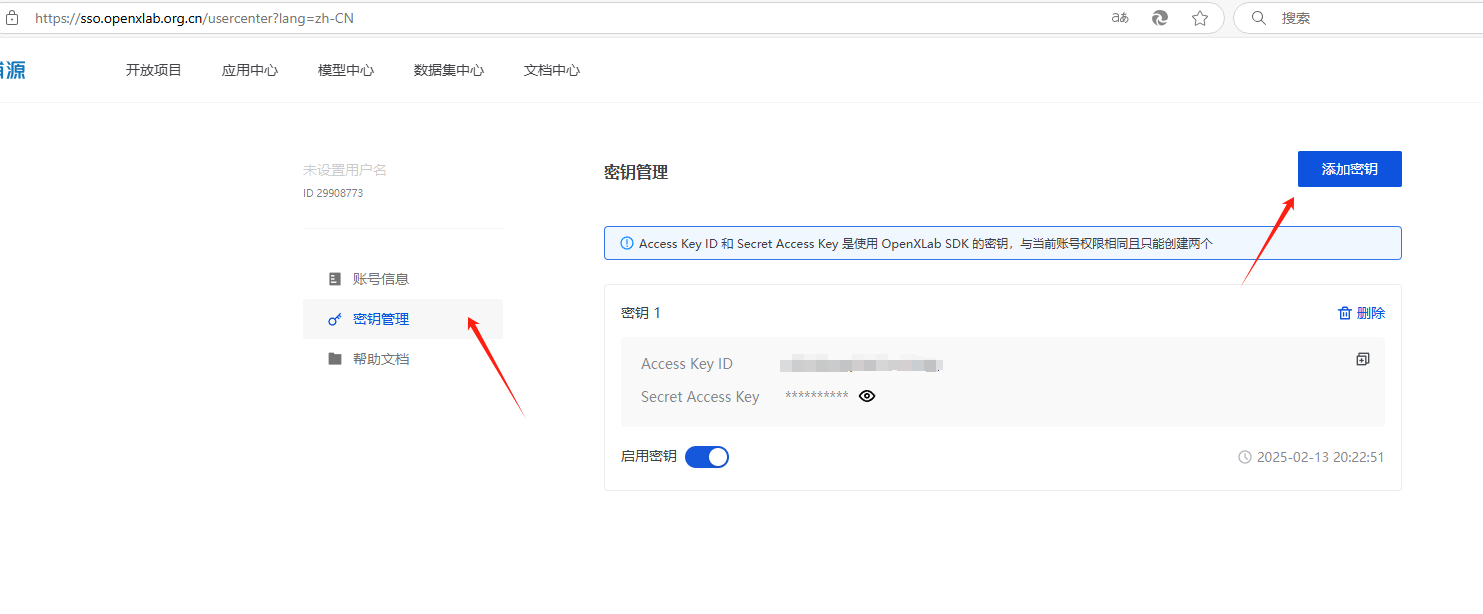
Open https://opendatalab.com to register an account, and then add a key in the personal information center.
Then download the CLI tool provided by openxlab:
pip install openxlab # Install
After installing openxlab, you will be asked to add the path to the environment variables. The environment variable path is the Scripts directory, for example:
C:\Users\%USER%\AppData\Roaming\Python\Python312\Scripts
Next, log in by entering the command and following the prompts to input your key and secret:
openxlab login # Log in, input corresponding AK/SK, which can be found in the personal center
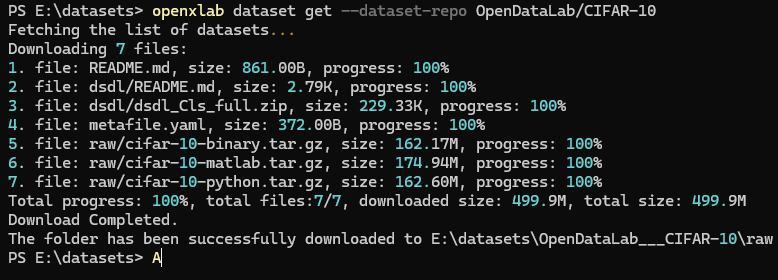
Then open an empty directory to download the dataset. The dataset repository will be downloaded to the OpenDataLab___CIFAR-10 directory:
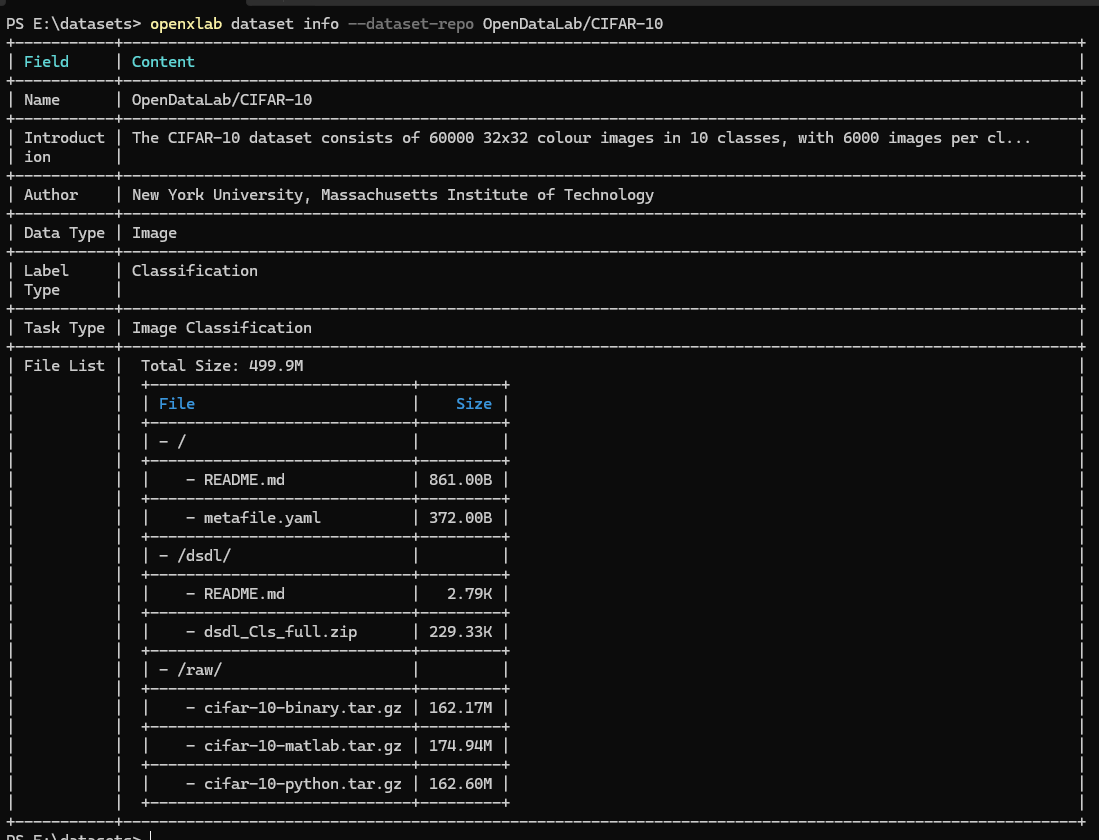
openxlab dataset info --dataset-repo OpenDataLab/CIFAR-10 # View dataset information and file list

openxlab dataset get --dataset-repo OpenDataLab/CIFAR-10 # Download the dataset
View dataset information and file list
openxlab dataset info --dataset-repo OpenDataLab/CIFAR-10
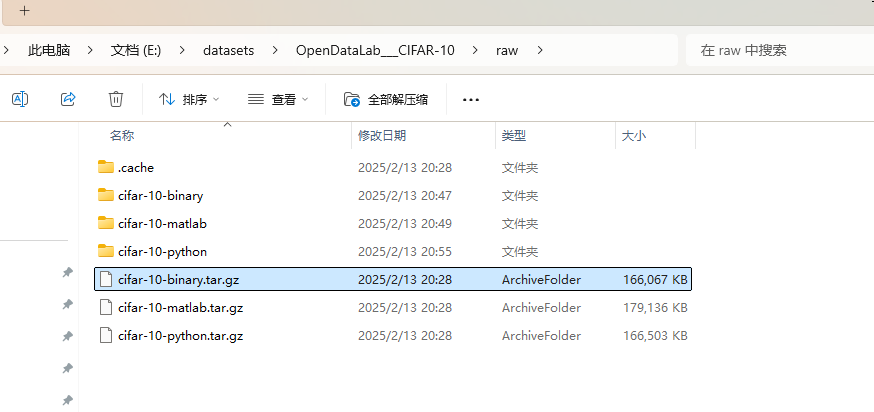
There are quite a number of downloaded files, but we only need cifar-10-binary.tar.gz. You can directly extract cifar-10-binary.tar.gz into the directory (it can also be left compressed).
Then import the data:
// Load training and validation data

var train_dataset = datasets.CIFAR10(root: "E:/datasets/OpenDataLab___CIFAR-10", train: true, download: false, target_transform: transform);
var val_dataset = datasets.CIFAR10(root: "E:/datasets/OpenDataLab___CIFAR-10", train: false, download: false, target_transform: transform);
Custom Dataset
Maomi.Torch provides a method for importing custom datasets, reducing the difficulty for developers to create datasets. Custom datasets must also distinguish between training and testing datasets, where the training dataset is used for feature recognition and training, while the testing dataset is used to validate the accuracy and loss of the model training.
The testing dataset and training dataset can be placed in different directories with no specific naming requirements. Each category should be in a separate directory named after the category, with labels generated from 0 according to the directory name's order.
├─test
│  ├─airplane
│  ├─automobile
│  ├─bird
│  ├─cat
│  ├─deer
│  ├─dog
│  ├─frog
│  ├─horse
│  ├─ship
│  └─truck
└─train
│  ├─airplane
│  ├─automobile
│  ├─bird
│  ├─cat
│  ├─deer
│  ├─dog
│  ├─frog
│  ├─horse
│  ├─ship
│  └─truck
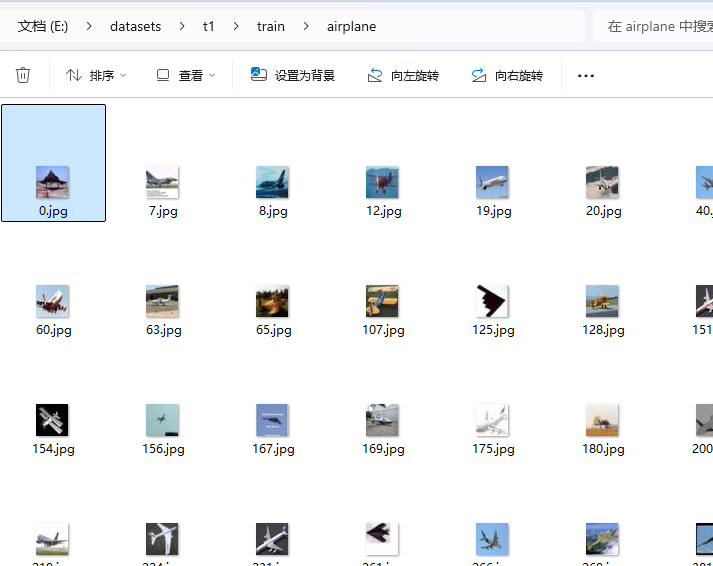
Readers can refer to the `exportdataset` project to export the CIFAR-10 dataset to a directory.
The code to import the dataset through the custom directory is:
var train_dataset = MM.Datasets.ImageFolder(root: "E:/datasets/t1/train", target_transform: transform);
var val_dataset = MM.Datasets.ImageFolder(root: "E:/datasets/t1/test", target_transform: transform);
Model Training
Define the image preprocessing transformation code as follows:
Device defaultDevice = MM.GetOptimalDevice();
torch.set_default_device(defaultDevice);

Console.WriteLine($"Currently using {defaultDevice}");

// Data preprocessing
var transform = transforms.Compose([
    transforms.Resize(32, 32),
    transforms.ConvertImageDtype(ScalarType.Float32),
    MM.transforms.ReshapeTransform(new long[]{ 1, 3, 32, 32 }),
    transforms.Normalize(means: new double[] { 0.485, 0.456, 0.406 }, stdevs: new double[] { 0.229, 0.224, 0.225 }),
    MM.transforms.ReshapeTransform(new long[]{ 3, 32, 32 })
]);
Due to TorchSharp's poor compatibility with image dimension handling compared to PyTorch's automatic handling, the dimensions of imported images may not be compatible with batch processing and transforms, which may cause errors. Therefore, it is necessary to use Maomi.Torch's transformation functions to ensure the shape requirements are met when importing images and performing image batch processing.
Load the dataset in batches:
// Load training and validation data

var train_dataset = datasets.CIFAR10(root: "E:/datasets/CIFAR-10", train: true, download: true, target_transform: transform);
var val_dataset = datasets.CIFAR10(root: "E:/datasets/CIFAR-10", train: false, download: true, target_transform: transform);

var train_loader = new DataLoader(train_dataset, batchSize: 1024, shuffle: true, device: defaultDevice, num_worker: 10);
var val_loader = new DataLoader(val_dataset, batchSize: 1024, shuffle: false, device: defaultDevice, num_worker: 10);
Initialize the vgg16 network:
var model = torchvision.models.vgg16(num_classes: 10);
model.to(device: defaultDevice);
Set the loss function and optimizer:
var criterion = nn.CrossEntropyLoss();
var optimizer = optim.SGD(model.parameters(), learningRate: 0.001, momentum: 0.9);
Train the model and save it:
int num_epochs = 150;

for (int epoch = 0; epoch < num_epochs; epoch++)
{
    model.train();
    double running_loss = 0.0;
    int i = 0;
    foreach (var item in train_loader)
    {
        var (inputs, labels) = (item["data"], item["label"]);
        var inputs_device = inputs.to(defaultDevice);
        var labels_device = labels.to(defaultDevice);

        optimizer.zero_grad();
        var outputs = model.call(inputs_device);
        var loss = criterion.call(outputs, labels_device);
        loss.backward();
        optimizer.step();

        running_loss += loss.item<float>() * inputs.size(0);
        Console.WriteLine($"[{epoch}/{num_epochs}][{i % train_loader.Count}/{train_loader.Count}]");
        i++;
    }
    double epoch_loss = running_loss / train_dataset.Count;
    Console.WriteLine($"Train Loss: {epoch_loss:F4}");

    model.eval();
    long correct = 0;
    int total = 0;
    using (torch.no_grad())
    {
        foreach (var item in val_loader)
        {
            var (inputs, labels) = (item["data"], item["label"]);

            var inputs_device = inputs.to(defaultDevice);
            var labels_device = labels.to(defaultDevice);
            var outputs = model.call(inputs_device);
            var predicted = outputs.argmax(1);
            total += (int)labels.size(0);
            correct += (predicted == labels_device).sum().item<long>();
        }
    }

    double val_accuracy = 100.0 * correct / total;
    Console.WriteLine($"Validation Accuracy: {val_accuracy:F2}%");
}

model.save("model.dat");
After starting the project, you can execute the training directly. After training for over 100 epochs, the accuracy is around 70%, and the loss value is about 0.0010, while further training does not improve the accuracy.
The exported model size is quite large:
513M model.dat
Next, let's write an image recognition test, with three images included in the example project vggdemo for readers to directly import and use.
model.load("model.dat");
model.to(device: defaultDevice);
model.eval();
<br />
var classes = new string[] {
"airplane",
"automobile",
"bird",
"cat",
"deer",
"dog",
"frog",
"horse",
"ship",
"truck"
};

List<Tensor> imgs = new();
imgs.Add(transform.call(MM.LoadImage("airplane.jpg").to(defaultDevice)).view(1, 3, 32, 32));
imgs.Add(transform.call(MM.LoadImage("cat.jpg").to(defaultDevice)).view(1, 3, 32, 32));
imgs.Add(transform.call(MM.LoadImage("dog.jpg").to(defaultDevice)).view(1, 3, 32, 32));

using (torch.no_grad())
{

    foreach (var data in imgs)
    {
        var outputs = model.call(data);

        var index = outputs[0].argmax(0).ToInt32();

        // Convert to normalized probability
        // outputs.shape = [1,10], thus taking [dim:1]
        var array = torch.nn.functional.softmax(outputs, dim: 1);
        var max = array[0].ToFloat32Array();
        var predicted1 = classes[index];
        Console.WriteLine($"Recognition result: {predicted1}, accuracy: {max[index] * 100}%");
    }
}
Recognition results:
Currently using cuda:0
Recognition result: airplane, accuracy: 99.99983%
Recognition result: cat, accuracy: 99.83113%
Recognition result: dog, accuracy: 100%
The three images used were searched from the internet:


文章评论