Deploying Casdoor
There are several types of single sign-on authentication sources (protocols):
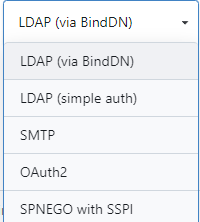
LDAP, SMTP, OAuth2.0, etc., with OAuth2.0 being the current mainstream standard. There are many platforms in the open-source community that support OAuth, such as Keycloak, Okta, Casdoor, etc. Additionally, there are many third-party OAuth2 Server SDKs or commercial paid platforms. After careful consideration, we decided to use Casdoor as the single sign-on authentication center.
Official website:
https://casdoor.org/zh/docs/overview
Casdoor is a user interface-first Identity Access Management (IAM)/Single Sign-On (SSO) platform. Its web UI supports OAuth 2.0, OIDC, SAML, CAS, LDAP, SCIM, WebAuthn, TOTP, MFA, RADIUS, Google Workspace, Active Directory, and Kerberos.
The official documentation introduces the features of Casdoor. Casdoor supports multiple languages, easy deployment, simple and convenient interface operations, powerful and comprehensive functions, and can connect to various external login platforms such as Feishu, which led to the choice of Casdoor.
Casdoor relies on a database, so you need to create a database first. It supports MySQL, PostgreSQL, and SQLite databases. You need to create a database named casdoor in advance.
Then, create an empty directory and a new app.conf file with the following sample content:
appname = casdoor
httpport = 8000
runmode = dev
SessionOn = true
copyrequestbody = true
driverName = mysql
dataSourceName = root:123456@tcp(localhost:3306)/
dbName = casdoor
tableNamePrefix =
showSql = false
redisEndpoint =
defaultStorageProvider =
isCloudIntranet = false
authState = "casdoor"
socks5Proxy = "127.0.0.1:10808"
verificationCodeTimeout = 10
initScore = 2000
logPostOnly = true
origin = "https://door.casdoor.com"
staticBaseUrl = "https://cdn.casbin.org"
enableGzip = true
inactiveTimeoutMinutes =
Mainly replace the dataSourceName database connection string, which varies by database type. Please refer to:
https://casdoor.org/zh/docs/basic/server-installation/#%E9%85%8D%E7%BD%AE%E6%95%B0%E6%8D%AE%E5%BA%93
Then modify origin to the address where the service will be accessed after deployment. It can also be left unchanged for later modification.
Deploying Casdoor with Docker:
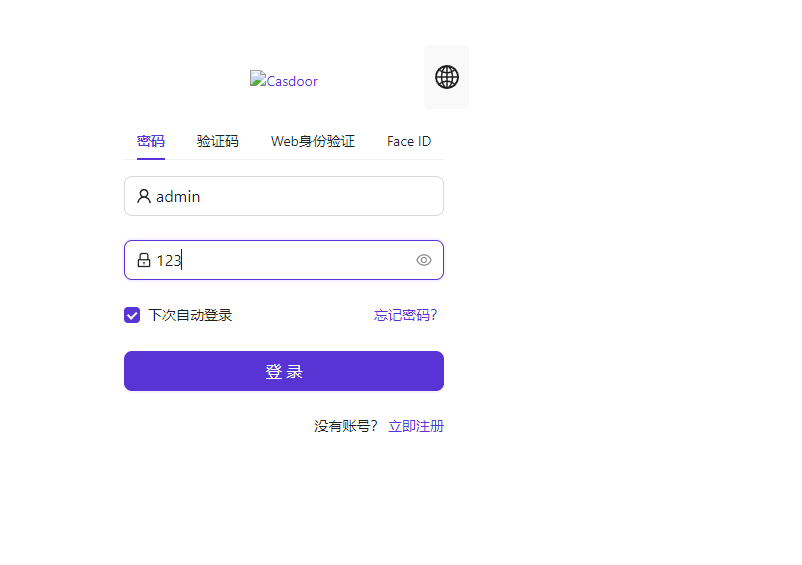
docker run -p 8000:8000 -v /data/casdoor/conf:/conf casbin/casdoor:latestAfter reverse proxy, open the page. The default account and password are admin and 123.
Configuring Casdoor
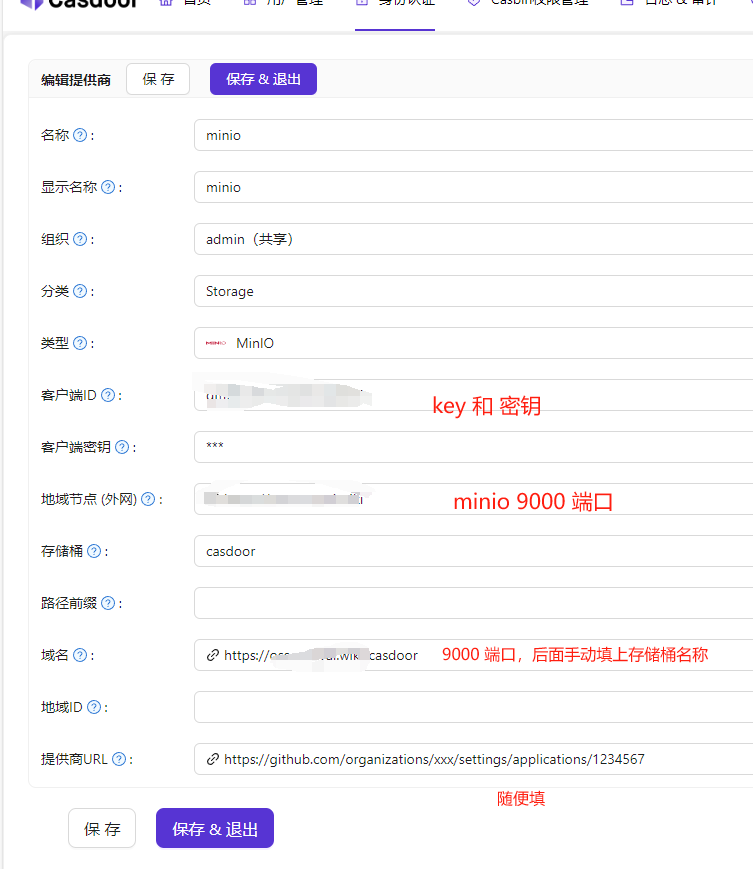
After logging in, create an object storage provider to persist static resources like avatars.
Here, I use a privately-deployed Minio.
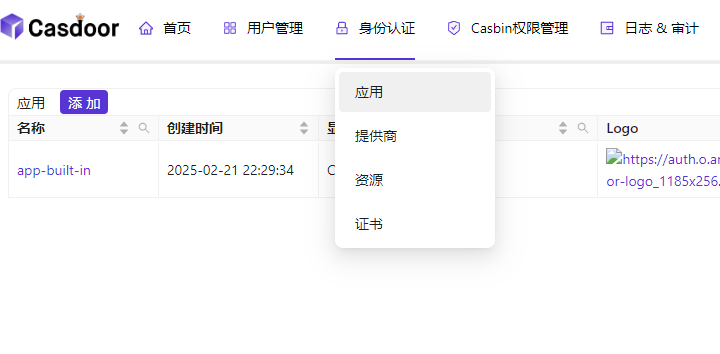
Then open the default application.
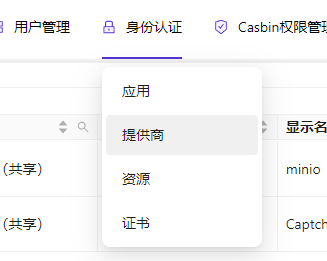
Add minio storage in the provider.

Files uploaded afterward will automatically be stored in Minio and provided as static resources for access.
Binding Gitea and Casdoor
As a single sign-on center, Casdoor can connect with any client that supports OAuth2.0. Here’s how to integrate Casdoor with Gitea as an authentication source.
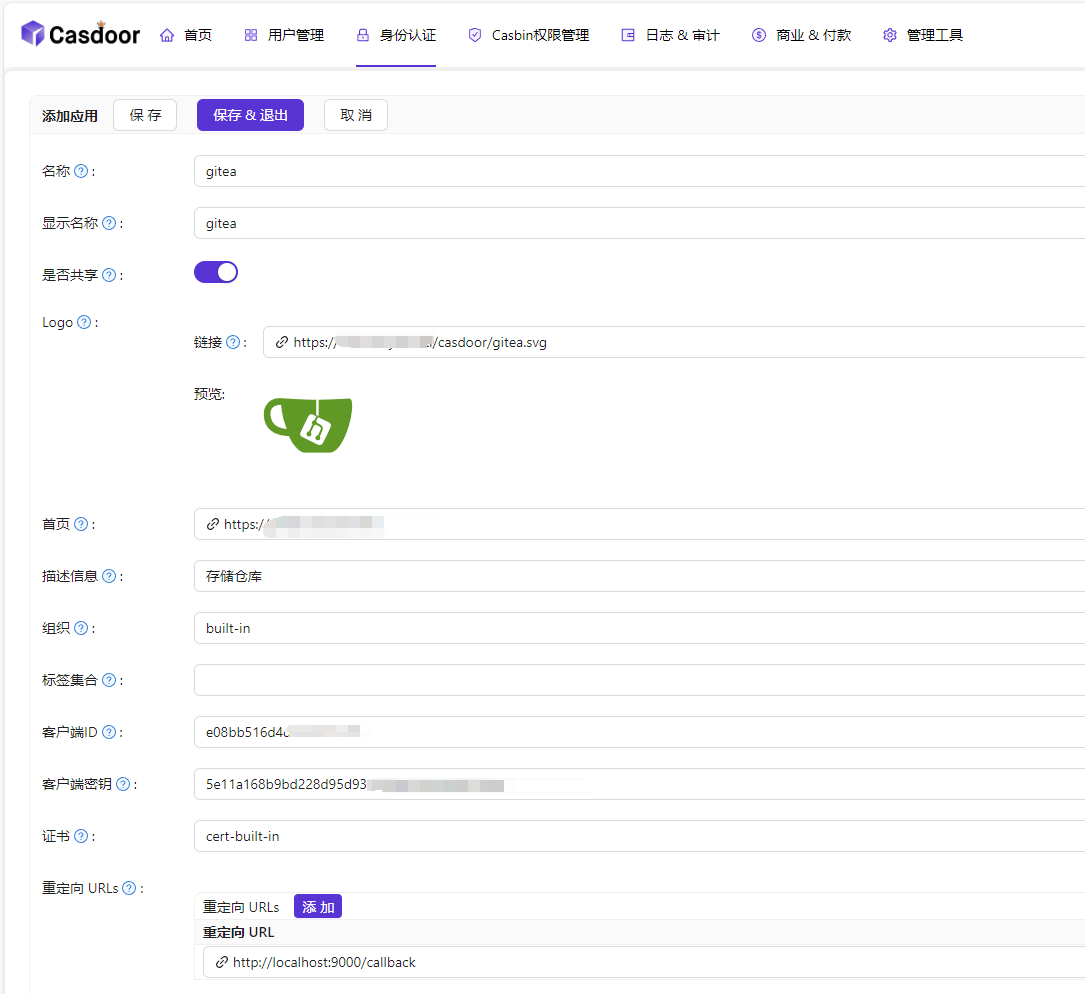
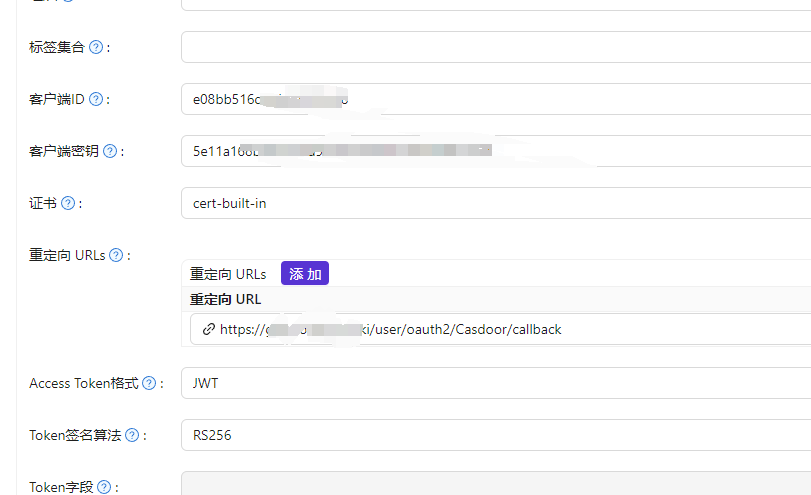
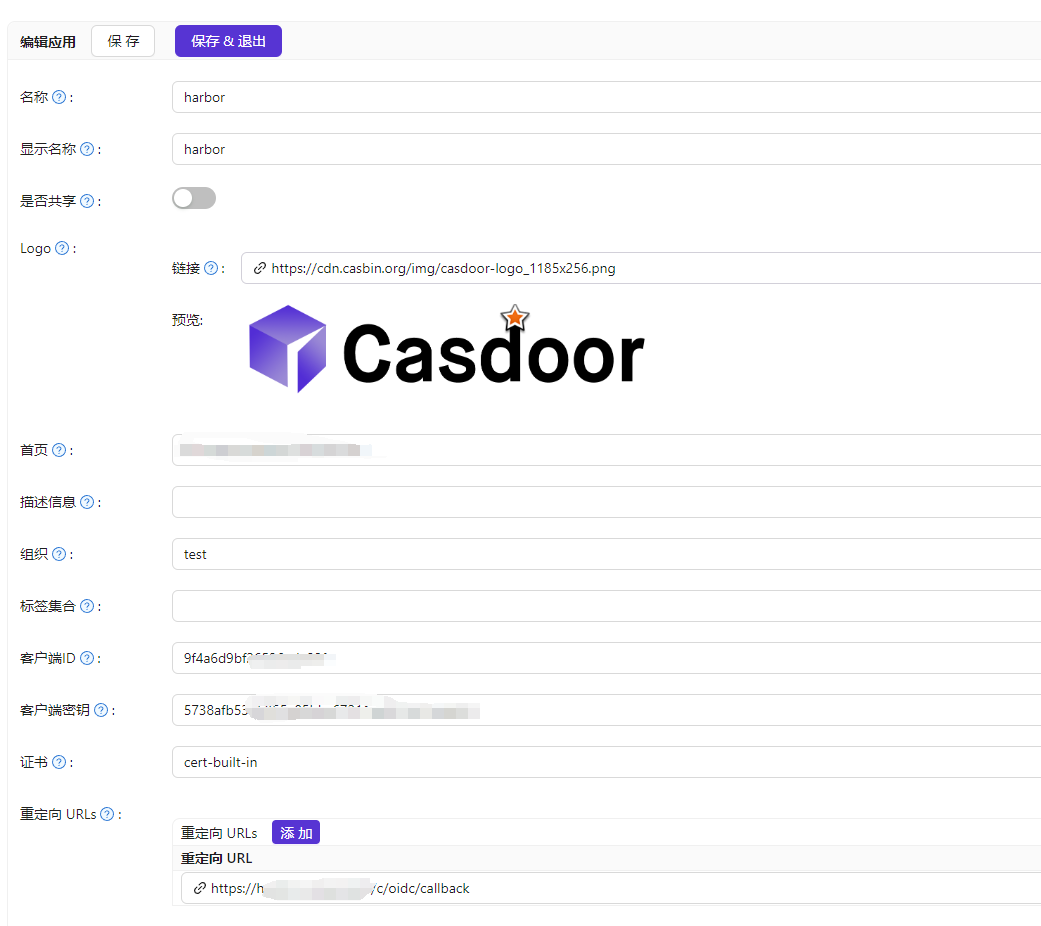
Open Casdoor and add a new application. You only need to fill in the following details, and you can use the default value for the redirect URL. Then copy the client ID and secret.
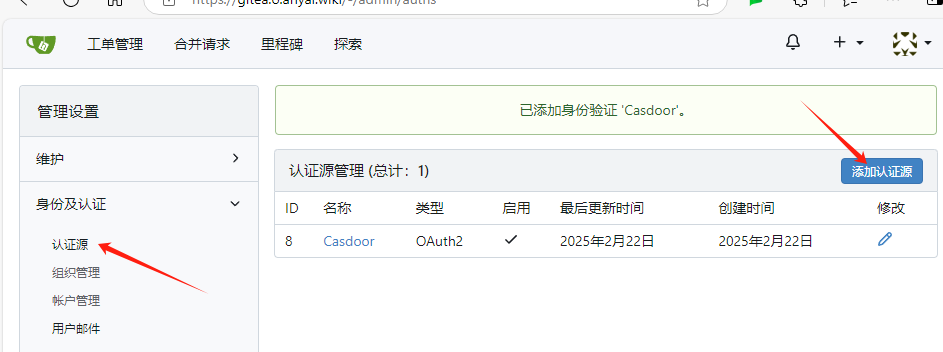
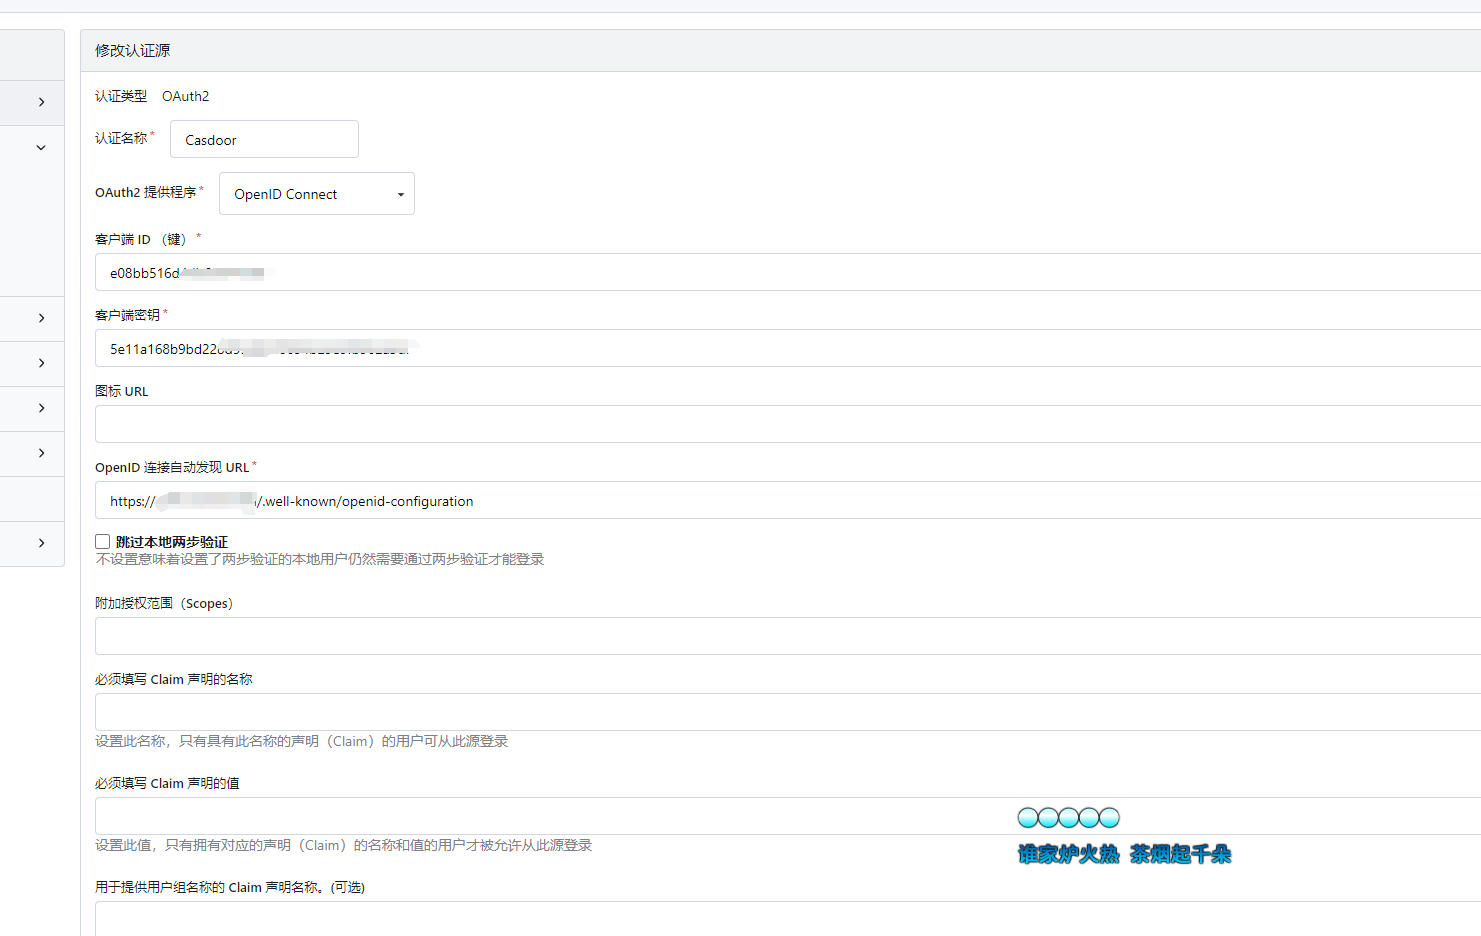
Then open Gitea and add an authentication source in the admin panel.
For OAuth2.0, different types of platforms have different endpoints, and Casdoor corresponds to OpenID Connect.
| Endpoint | URL |
|---|---|
| OpenID Connect Discovery | /.well-known/openid-configuration |
| Authorization Endpoint | /login/oauth/authorize |
| Access Token Endpoint | /login/oauth/access_token |
| OpenID Connect UserInfo | /login/oauth/userinfo |
| JSON Web Key Set | /login/oauth/keys |
When filling in the OpenID Connect discovery address, append /.well-known/openid-configuration to the Casdoor access address.
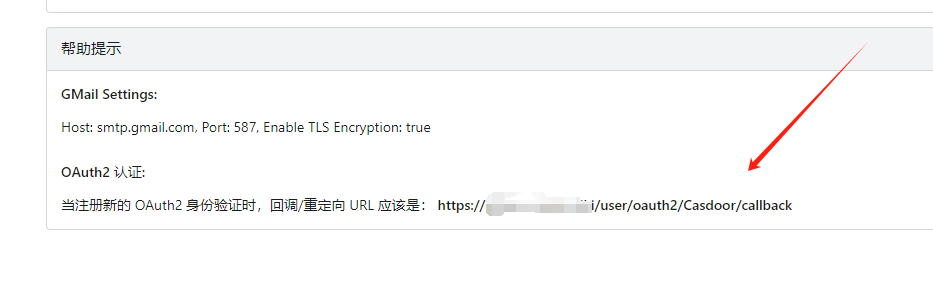
After saving the connection source, reopen it to find the callback address generated by Gitea at the bottom.
Reopen Casdoor and modify the callback URL in the Gitea application:
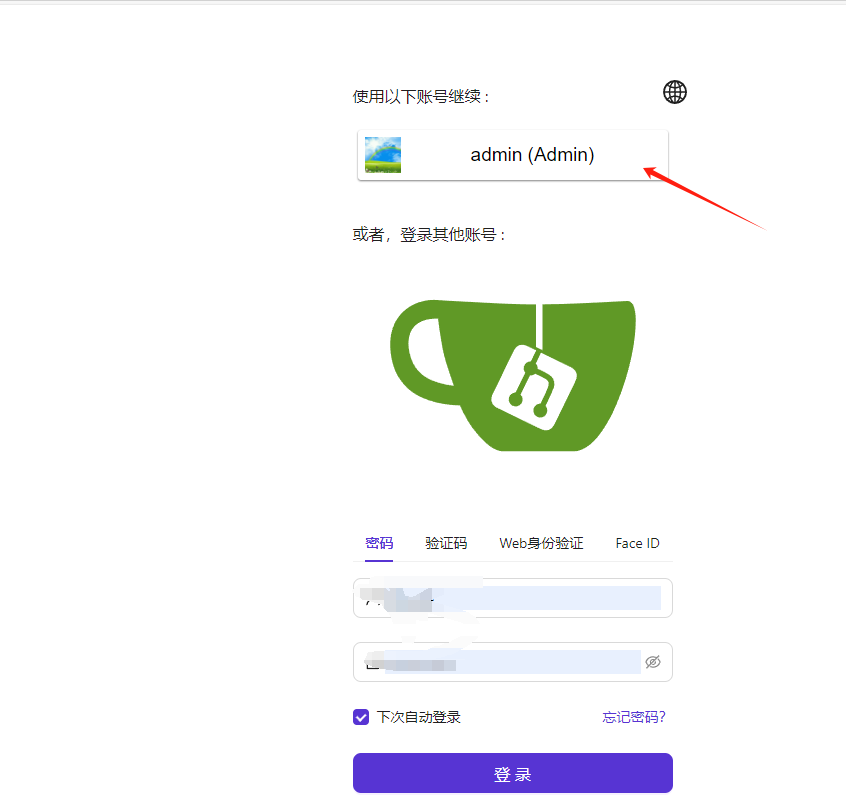
Log out of Gitea, log in again, and the option "Login with Casdoor" will appear on the interface.
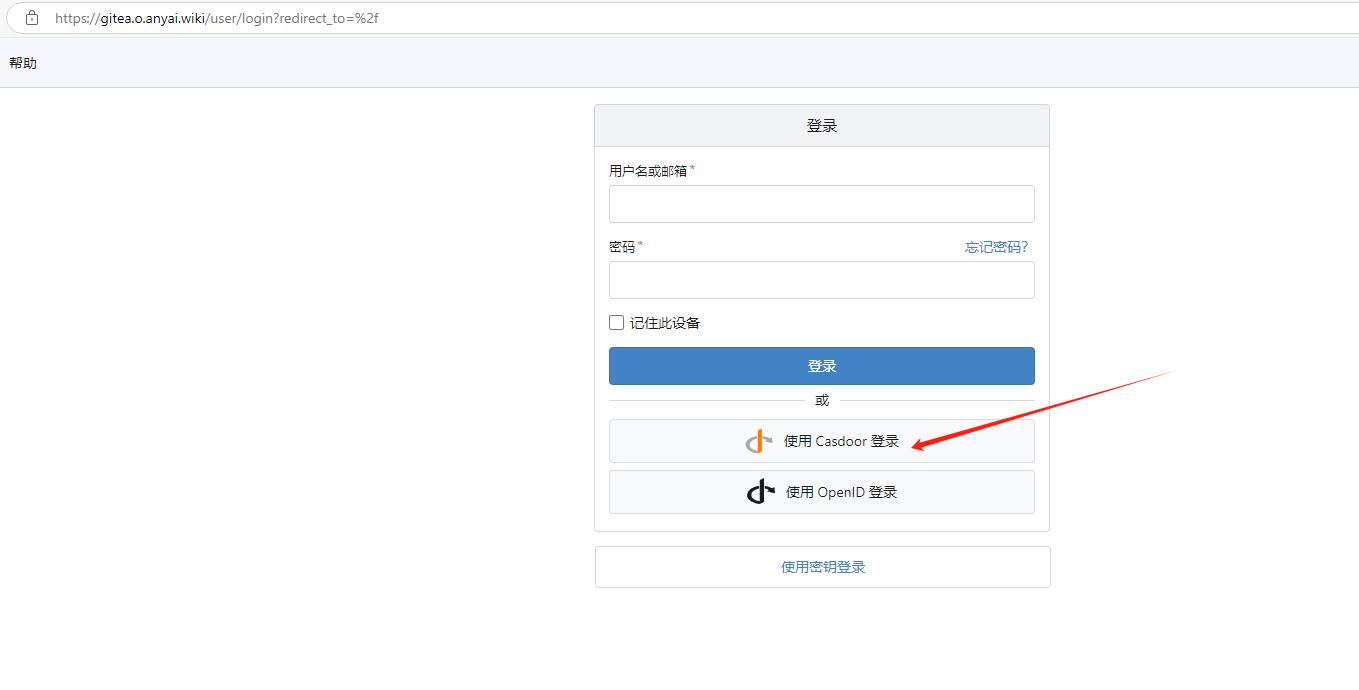
Clicking it will redirect to a unified login page where you can choose an already logged-in account or log in again.
Custom login redirects can be designed for each application.
Configuring Harbor
Go to Casdoor to configure the application.
Then configure OpenID on Harbor, but the endpoint should not include the suffix /.well-known/openid-configuration.
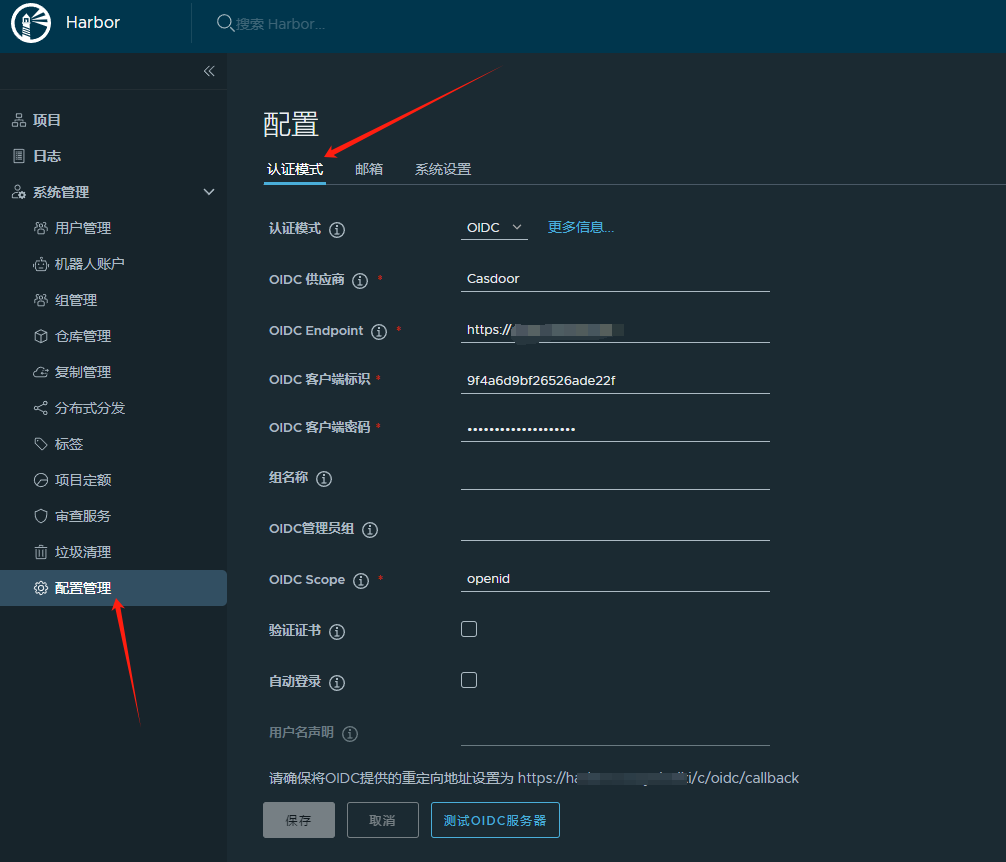
Harbor's configuration may have pitfalls. If the displayed callback address differs from the current Harbor access address, you may need to update the reverse proxy address in Harbor. Refer to:
https://www.whuanle.cn/archives/21744

文章评论