内容目录
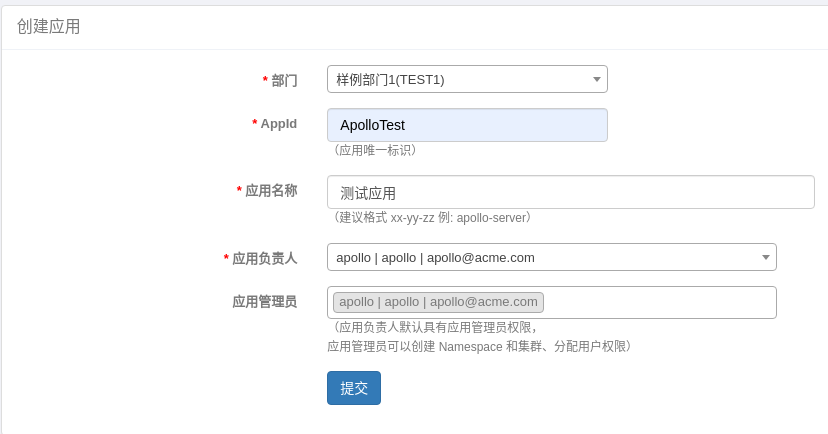
部署 Apollo 之后,创建一个应用。

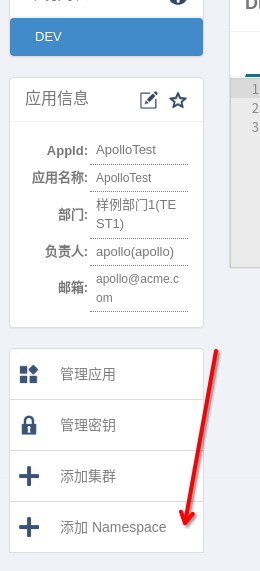
然后创建命名空间,选择 private 创建私有命名空间,选择 json 格式。

点击修改文本,填入 json 内容。

然后在 .NET 程序中引入包
<PackageReference Include="Com.Ctrip.Framework.Apollo.Configuration" Version="2.10.2" />在配置文件中定义 apollo 的设置。
{
  "apollo": {
    "AppId": "ApolloTest",
    "MetaServer": "http://192.168.80.70:8080",
    "ConfigServer": "http://192.168.80.70:8080",
    "Env": "DEV",
    "Namespaces": [
      "DEV"
    ]
  },
  "Logging": {
    "LogLevel": {
      "Default": "Debug",
      "Microsoft.AspNetCore": "Debug"
    }
  },
  "AllowedHosts": "*"
}
最后在代码中注入:
var builder = WebApplication.CreateBuilder(args);
builder.Host.ConfigureAppConfiguration(b =>
{
    b.AddApollo(builder.Configuration.GetSection("apollo")).AddNamespace("DEV",ConfigFileFormat.Json);
});

文章评论